Skip to content

Photo and 3D model

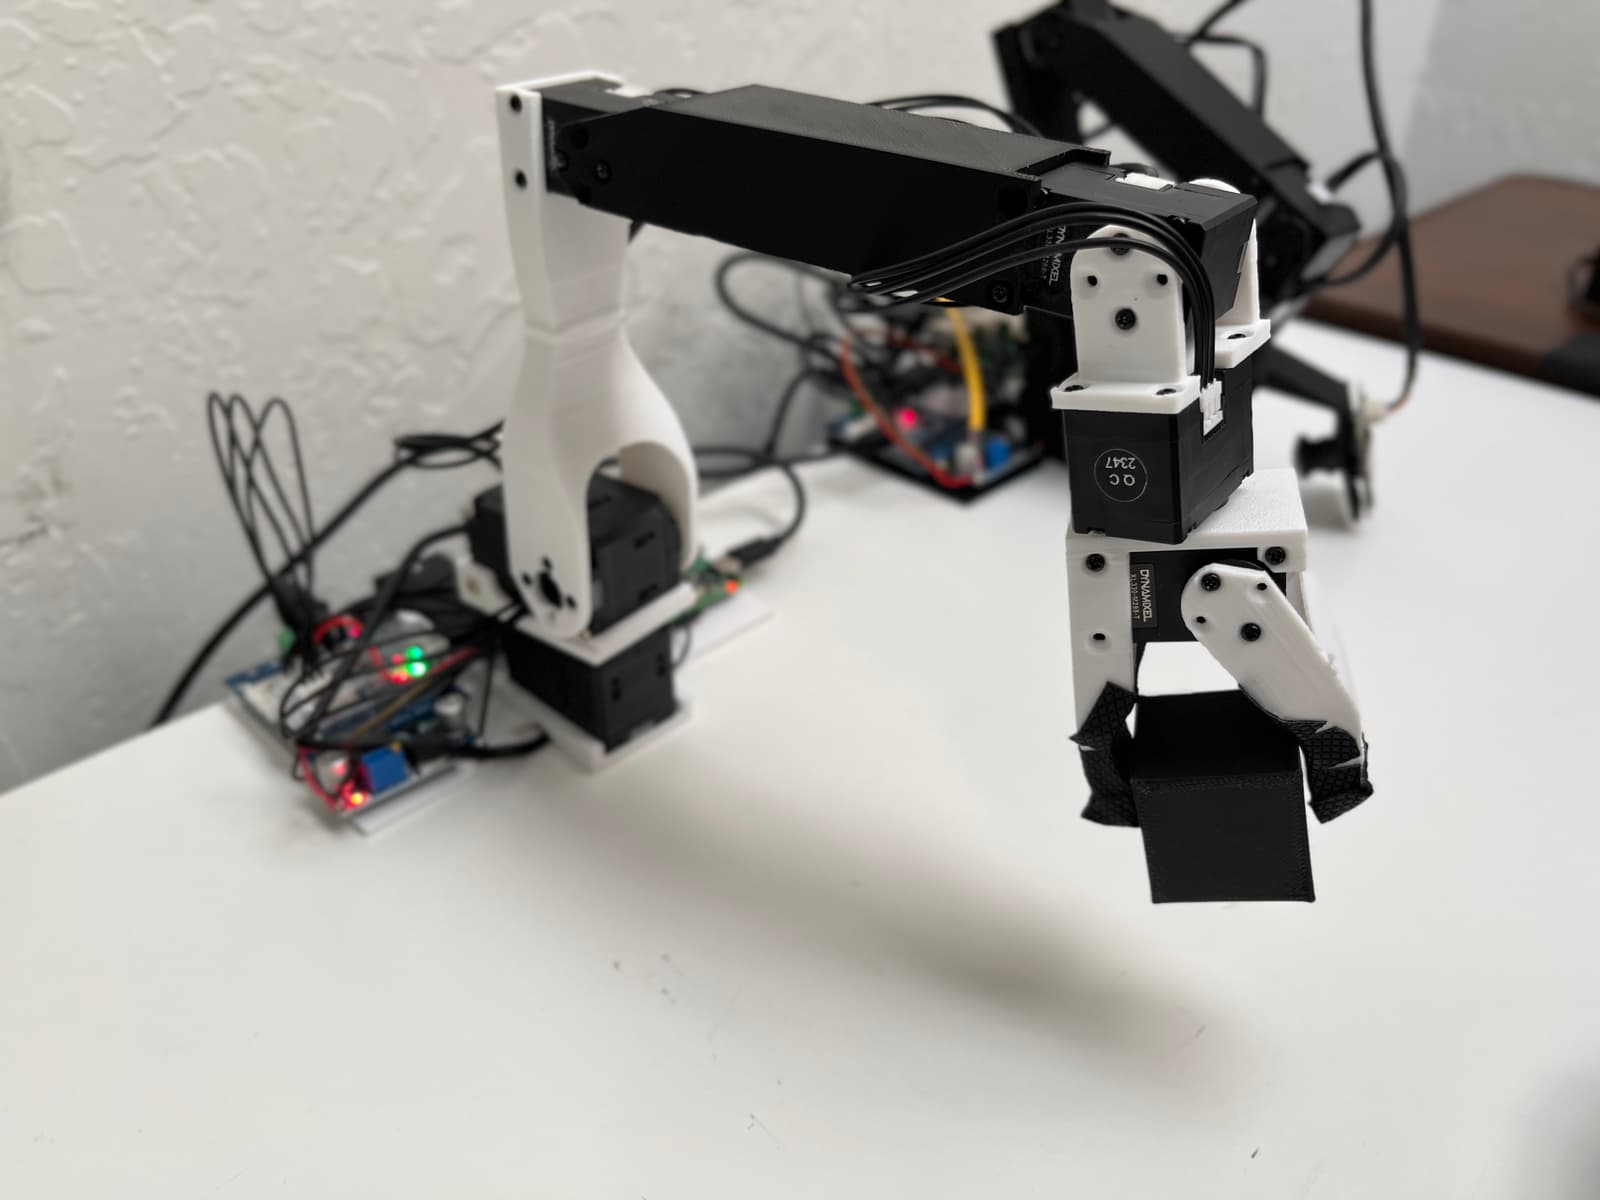
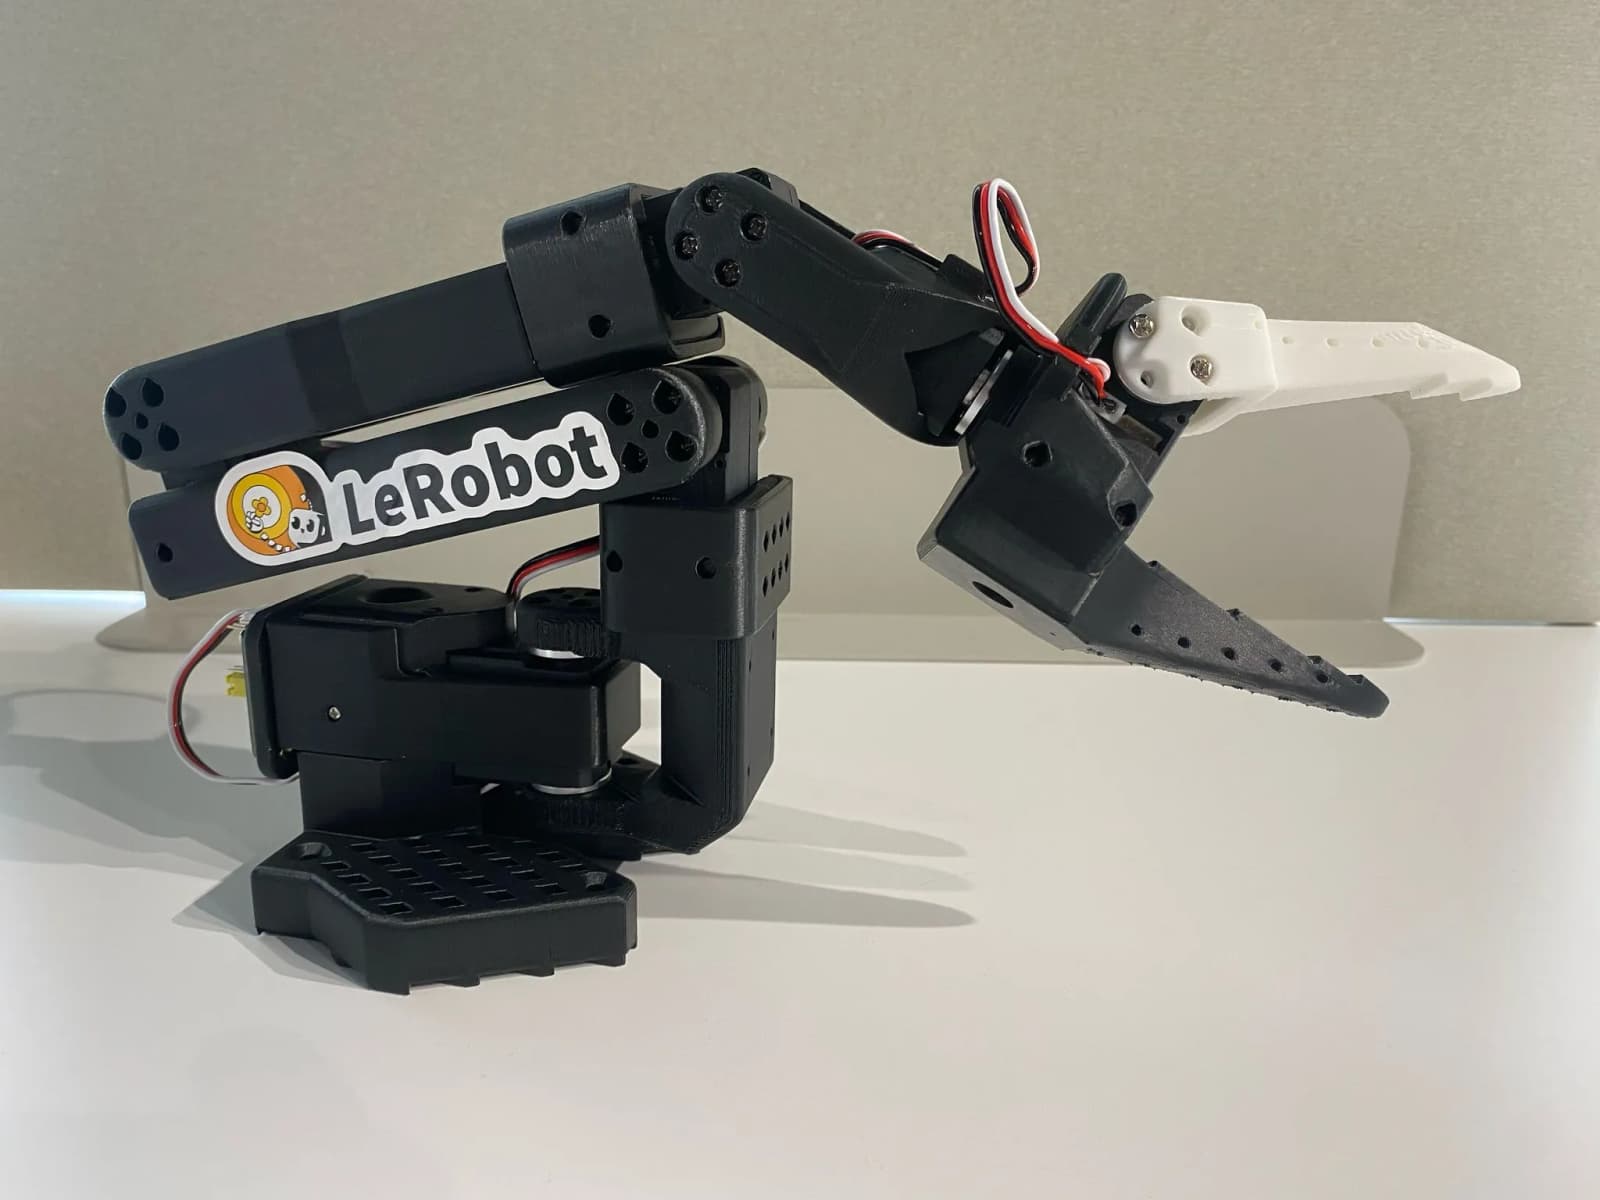
Low-Cost Robot Arm, photo from its repository
Photo@AlexanderKoch-Koch (opens in a new tab)MITsource file (opens in a new tab)

3D preview converted from github.com/AlexanderKoch-Koch/low_cost_robot at 0602b0c, under MIT. View the original files from GitHub (18.3 MB) (opens in a new tab)

Open source · free filesReady to build

Low-Cost Robot Arm

Robot arm

A low-cost Dynamixel-based robot arm and matching leader arm for teleoperation and robot learning.

Before you build

Total cost
$430approx. €391 (ECB rate, 20 Nov 2026)excluding 3D-printing filament
How we got this numberAs stated by the creator.
Parts still sold
9 shop links, not checked yetRobotheca checks shop links weekly, only on the sites it may ask. Prices are as the creator listed them.
Tools
3D printer, soldering iron, screwdriver
Level
Intermediate
Licence
MIT (opens in a new tab), hardware and softwareCommercial use: Allowed

Not stated in the creator's files: time.

Read from the repository at commit 0602b0c, read on 11 Nov 2026. Something out of date? Tell us

Project information

Buildability
82/100Ready to build
Parts
9 lines

Suggested by Robotheca, created by @AlexanderKoch-Koch (opens in a new tab), from github.com/AlexanderKoch-Koch/low_cost_robot (opens in a new tab), pinned to commit 0602b0c (opens in a new tab). You buy the parts yourself; Robotheca doesn't sell robots. Last checked on GitHub on 20 November 2026; its last change there was on 21 September 2024.

Build it

The creator's 12 steps, each linked to its instructions
  1. Print all parts with a 3D printer
  2. Scan motors with Dynamixel Wizard
  3. Assemble the arm without the base
  4. Solder wires onto the voltage reducer
  5. Screw the voltage reducer and driver board onto the base
  6. Screw the base onto the arm
  7. Connect the driver board to the shoulder servo
  8. Connect the shoulder rotation servo to the shoulder lift servo
  9. Connect the voltage reducer input to the driver board
  10. Connect the voltage reducer output to the elbow servo
  11. Connect the driver board to the power supply
  12. Adjust the voltage reducer to 5V

The guide appears here as you scroll.

Guide by @AlexanderKoch-Koch (README.md), under MIT.

What to buy

9 lines, read from README.md at 0602b0c
Export CSV (parts list)

9 of 9 parts shown

≈ € amounts use the ECB reference rate of 20 Nov 2026, for comparison only.

No parts total: the cost above is the creator's own figure ($430).

Why it scores 82

It measures the published files, not the robot · How we score

82/100

Ready to build

How complete the published files are for rebuilding this robot, measured by Robotheca at commit 0602b0c. It isn't a rating of the robot. Counted out of 85 points and scaled to 100: the parts that don't apply to this robot are left out.

  1. 2Parts list9 lines: 0 with a price, 9 with a shop link.Most points to gain: Add prices to 9 lines.10/20
  2. 3SoftwareCode in this repository, instructions to install or run it.Say which software framework it uses (ROS 2, LeRobot, Arduino…).10/15
Full points: 3D and CAD files, Documentation, Simulation, Licenses; not counted: Robot description
  1. 13D and CAD files23 printable parts (STL, 3MF), 16 CAD source files.20/20
  2. 4DocumentationREADME of 5,259 characters with 3 pictures; 12 build steps.15/15
  3. 5Simulation2 simulation files (MuJoCo, Gazebo, Webots or Isaac).5/5
  4. 6LicensesHardware: MIT; software: MIT.10/10
  5. –Robot descriptionNo URDF. Not counted: the score is made of the parts that apply.Optional: add a URDF, and the robot can be seen in 3D and tried in the browser.Not counted

Wiring and electronics

Notes written by Robotheca from the project's documents, not by its creator

Main parts: Robotheca's summary

  • Dynamixel XL430-W250 servo motors (2) for the first two joints of the follower arm.
  • Dynamixel XL330-M288 servo motors (4) for the follower arm.
  • Waveshare Serial Bus Servo Driver Board used as a cheaper adapter to connect servos to a computer.
  • Voltage reducer used to step the 12V supply down to 5V for the servos.
  • 12V power supply for the follower arm and a 5V power supply for the leader arm.
  • USB-C cable connecting the servo driver board to a computer.

Connections: Robotheca's summary

  • The driver board's D, V and G ports connect to the shoulder rotation servo, and the shoulder rotation servo connects to the shoulder lift servo.
  • The voltage reducer input connects to the V and G ports of the driver board, and its output with the remaining D port feeds the elbow servo.
  • The driver board connects to the power supply.
  • The voltage reducer's input is wired with female connectors and its output with male connectors.

Cables and connectors

From the parts list.

  • Wires

What it can do: Robotheca's summary

Written by Robotheca from the project's documents, not by its creator
  • Follower arm can be controlled by a leader arm (teleoperation) to perform tasks such as folding clothes, and is suited for robot learning.
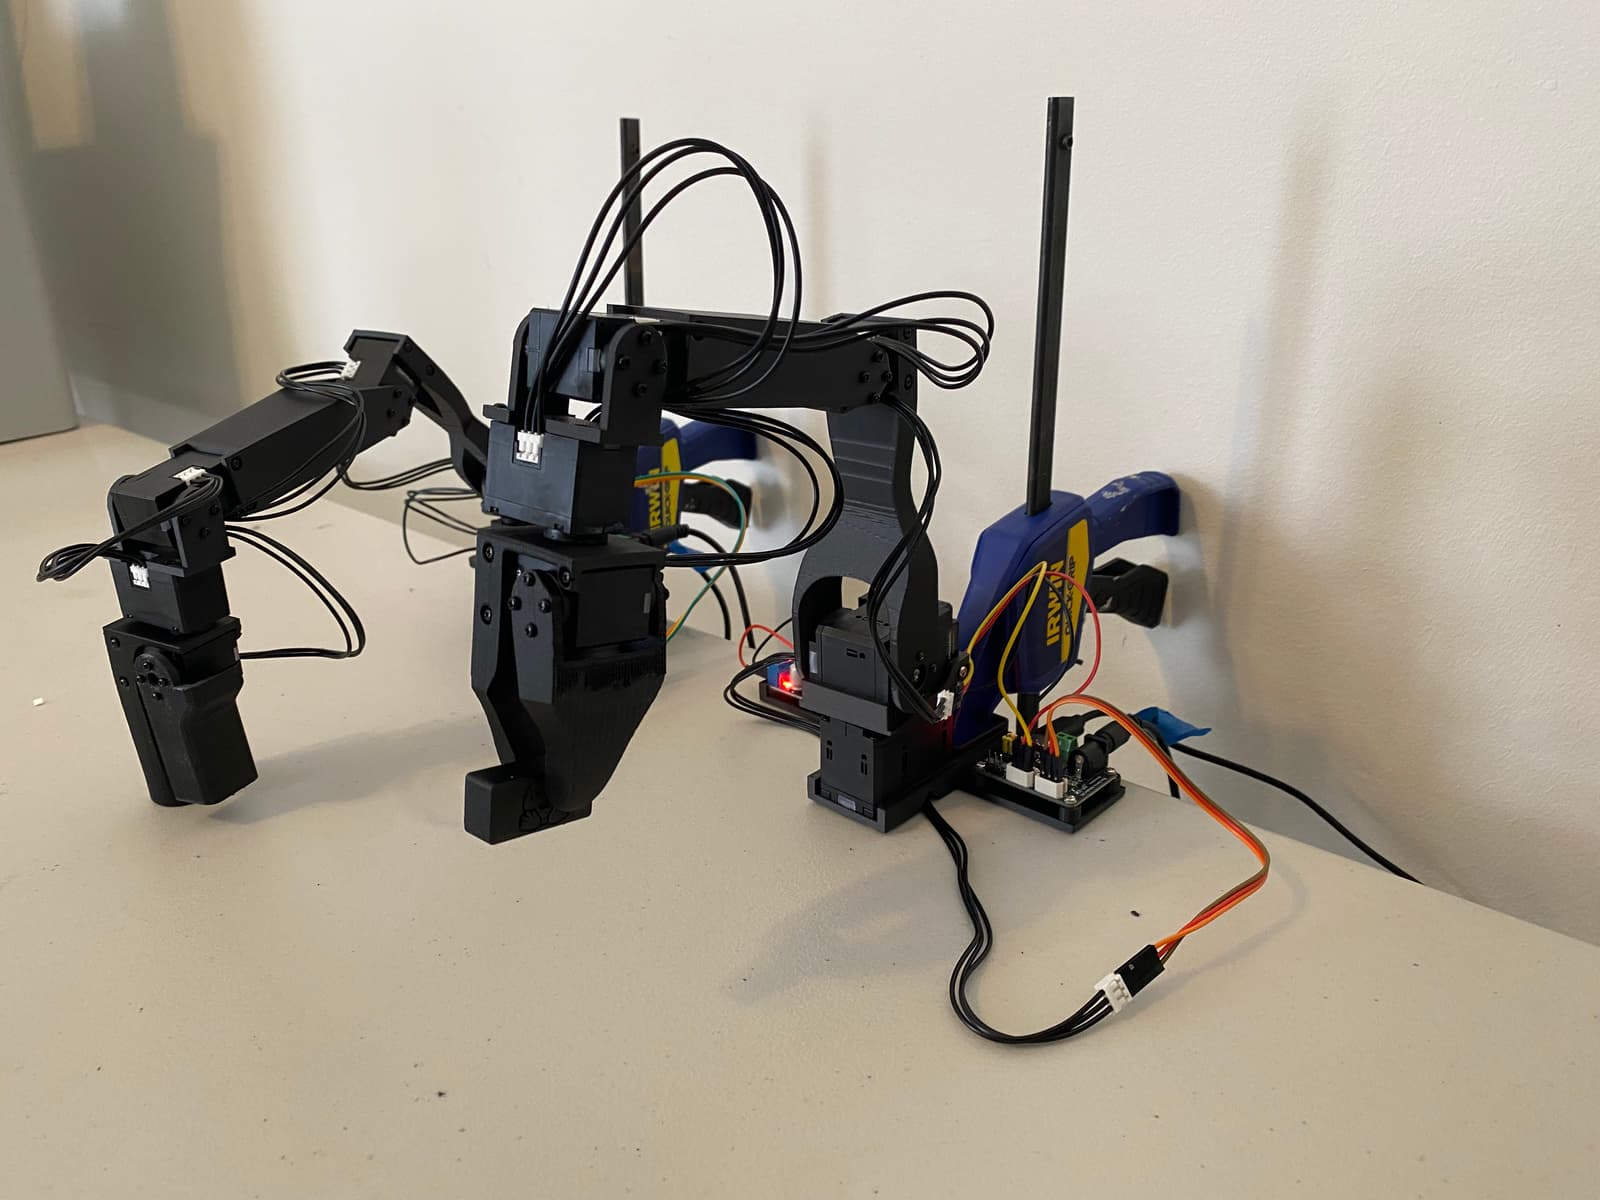
  • Leader arm is a second arm used to teleoperate the follower arm, inspired by the GELLO project.
  • Basic simulation environment in MuJoCo can be run via simulation.py.
  • Arm is lightweight and fast because of the XL330 servos used for most joints.

Software

Framework
Not stated
Languages
Python
License
MIT

Robotheca doesn't review code. Read it before running it.

How to run it: Robotheca's summary

Written by Robotheca from the project's documents, not by its creator.

  1. 1Install the Dynamixel SDK with pip install dynamixel-sdk.
  2. 2Connect the driver board to a computer and find its device name with ls /dev/tty.*.
  3. 3Scan each motor individually with Dynamixel Wizard, set all baudrates to 1M, and assign servo IDs 1 to 5 (or 6 with the elbow-to-wrist extension).
  4. 4Adjust the voltage reducer screw until the input voltage reads 5V in Dynamixel Wizard.
  5. 5Test the arms with the teleoperation.py script, adjusting device names if needed.
  6. 6Run simulation.py to start the MuJoCo simulation.

Software that runs on this robot

No software from Robotheca's catalogue found in this robot's files yet. Links come from its robotheca.yaml, its dependency files read as text, or Robotheca's editors.

The code

Free files

Every file of the project, at commit 0602b0c.

Community

Questions and improvements go to the creator's repository.

Add a badge to your README

For the creator: two badges that link back here. The second always shows this page's current label and score.


Listed on RobothecaRobotheca buildability

Markdown (one click selects it)

[![Listed on Robotheca](https://robotheca.org/robots/low-cost-robot-arm/badge.svg)](https://robotheca.org/robots/low-cost-robot-arm)
[![Robotheca buildability](https://robotheca.org/robots/low-cost-robot-arm/score.svg)](https://robotheca.org/robots/low-cost-robot-arm)

Licence and credits

Licenses
MIT (opens in a new tab), hardware and software
Commercial use
Allowed

Other robot arms

All 86 robot arms
  • Ready to build

    Open source · free files

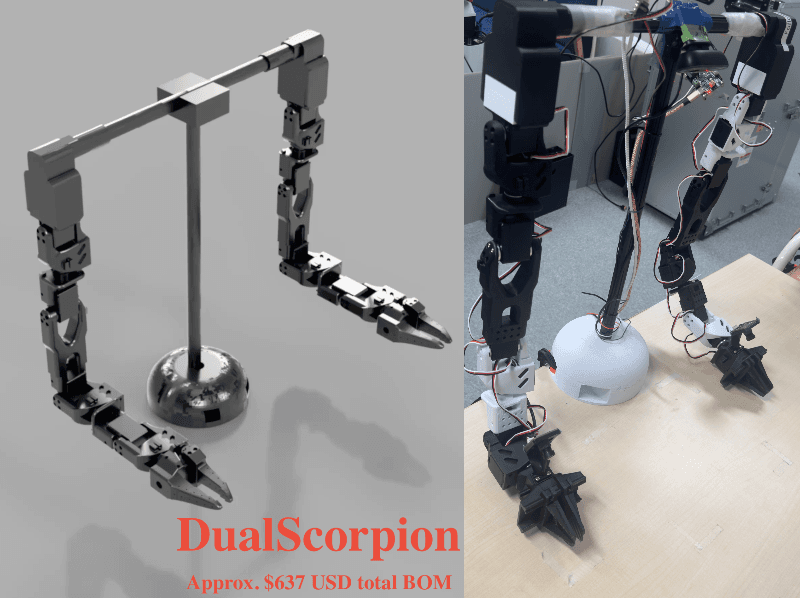
    Dual Scorpion

    Robot arm · Advanced

    Score
    Buildability 100 out of 100
    Cost
    $486.88≈ €443
  • Ready to build

    Open source · free files

    Giraffe

    Robot arm · Intermediate

    Score
    Buildability 100 out of 100
    Cost
    ₹14,585.71≈ €143
  • Ready to build

    Open source · free files

    Hand Exoskeleton

    Robot arm · Intermediate

    Score
    Buildability 100 out of 100
    Cost
    ¥500≈ €68
  • Ready to build

    Open source · free files

    SO-101

    Robot arm · Beginner

    Score
    Buildability 98 out of 100
    Cost
    €226.30

≈ € values are approximate, converted at the ECB euro reference rate of 20 Nov 2026. The creator's original price always comes first.