Open-Yta Hand
An underactuated anthropomorphic robotic hand with integrated wrist, 7 DOF per finger, cable-driven, 3D printed, and impedance controlled.
- Other
- Open source
- Works with AI
- arduino
- 3D printable
Suggested by Robotheca, created by @gigalgi (opens in a new tab), from github.com/gigalgi/open-yta-hand (opens in a new tab). Pinned to commit aa3bdf0 (opens in a new tab).
- Hardware license
- Apache-2.0 (opens in a new tab)
- Software license
- Apache-2.0 (opens in a new tab)
- Commercial use
- Allowed
Photo and 3D model
3D preview converted from github.com/gigalgi/open-yta-hand at aa3bdf0, under Apache-2.0. View the original files from GitHub (5.6 MB) (opens in a new tab)
- Degrees of freedom
- 7
- Weight
- 85 g
- Height
- 208 mm
What it can do
Written by Robotheca from the project's documents.
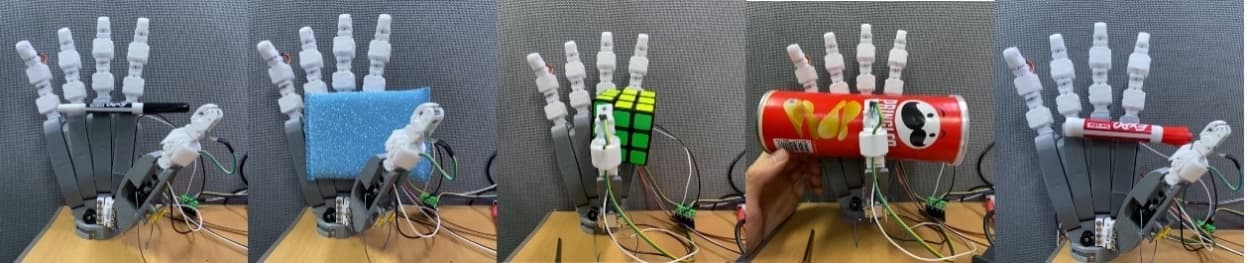
- Underactuated 5-finger anthropomorphic hand built from 3D-printed compliant fingers, each finger 208 mm with 7 degrees of freedom.
- Each finger is driven by two motors: flexion/extension via a main cable and abduction/adduction via an MCP servo.
- Uses an LSTM model to estimate motor angle from fingertip position (inverse kinematics), reported with R² of 0.9998.
- Impedance controller running at 100 Hz on an Arduino, with variable stiffness and damping and force sensing.
- Reinforcement learning (SAC) policy trained in MuJoCo simulation to drive the fingertip to a target position and hold it.
- MuJoCo simulation model with tendon-coupled joints and a fingertip site; an Isaac Sim model is listed as in development.
- ROS2 control package listed as in development.
Works with AI
Found by Robotheca in the project's files at commit aa3bdf0, its robot.yaml and Robotheca's notes on its documents. Never guessed; Robotheca doesn't run the code.
Ships a trained model: lstm_inverse_kinematics.pth
In the project files: lstm/weights/lstm_inverse_kinematics.pth“Reinforcement learning (SAC) policy trained in MuJoCo simulation to drive the fingertip to a target position and hold it.”
Robotheca's notes: What it can do“Install Python dependencies from requirements.txt (and rl/requirements.txt for reinforcement learning).”
Robotheca's notes: How to run it
Bill of materials
This repository has no parts list Robotheca can read yet.
Build guide
The creator's steps, each with its instructions.
- 1Print the finger, palm, thumb, wrist, shoulder and elbow parts in PETG with corr
- 2Print the wrist in two halves and bond them with cyanoacrylate or epoxy
- 3Assemble the finger with its motors, AS5600 encoder, FSR-400 force sensor and ca
- 4Flash the impedance control firmware to the Arduino
The guide appears here as you scroll.
Guide by @gigalgi (README.md), under Apache-2.0.
More guides
Wiring and electronics
Notes written by Robotheca from the project's documents.
Main parts
- JA12-N20 motor with 1:150 gearbox and bevel gear, used for flexion/extension.
- MG90S servo, used for abduction/adduction.
- AS5600 magnetic encoder (12-bit, I²C) for joint angle sensing.
- FSR-400 force sensor at the fingertip (0–10 N range).
- Arduino microcontroller running the impedance control firmware.
- Logitech C270 camera used during motion capture data collection.
Connections
- The AS5600 encoder communicates with the microcontroller over I²C.
- The encoder pulley angle is sent to a computer over serial from the Arduino during data collection.
- Motor and servo are commanded by the Arduino; the documents do not give further pin or power wiring details.