Hexapod
A six-legged hexapod robot built from 3D-printed parts, driven by 18 MG996 servos and controlled by a Raspberry Pi 5 with a Servo2040 board.
- Other
- Open source
- 3D model (URDF)
- 3D printable
Suggested by Robotheca, created by @ggldnl (opens in a new tab), from github.com/ggldnl/Hexapod-Hardware (opens in a new tab). Pinned to commit f8ee808 (opens in a new tab).
- Hardware license
- CERN-OHL-W-2.0 (opens in a new tab)
- Software license
- CERN-OHL-W-2.0 (opens in a new tab)
- Commercial use
- Allowed
Photo and 3D model
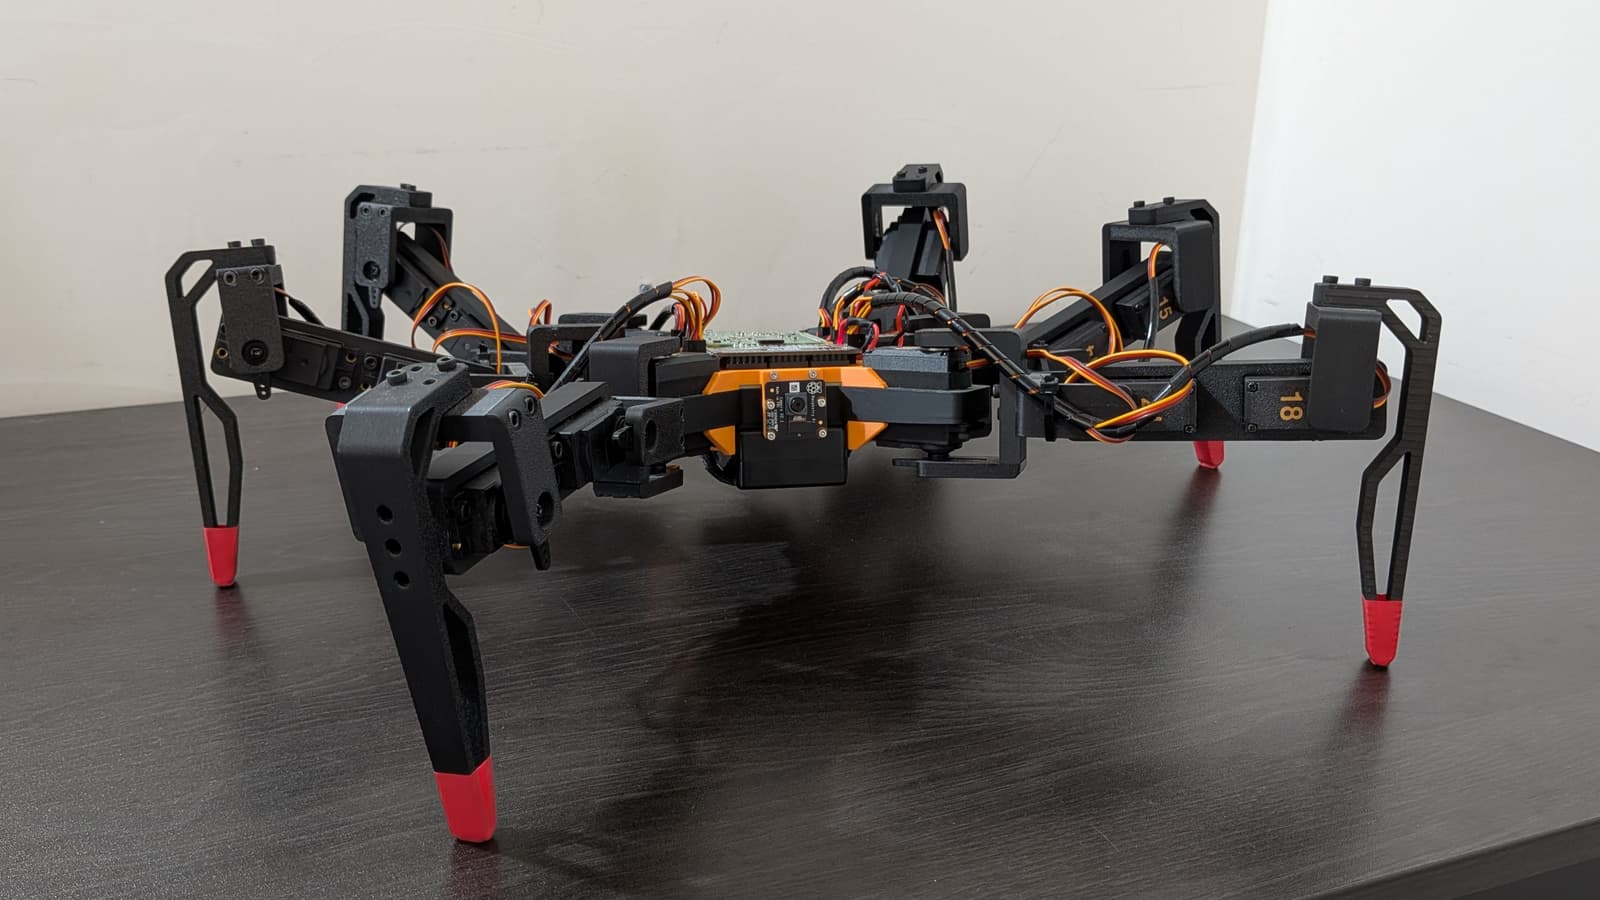
3D preview converted from github.com/ggldnl/Hexapod-Hardware at f8ee808, under CERN-OHL-W-2.0. View the original files from GitHub (7.1 MB) (opens in a new tab)
What it can do
Written by Robotheca from the project's documents.
- Six-legged hexapod walking robot built from 3D-printed parts with 18 servo-driven joints
- Robot is controlled through companion Controller and Servo2040 firmware repositories
- Includes a URDF model with simulation meshes for simulation use
Bill of materials
9 parts9 of 9 parts shown
| # | Component | Quantity | Est. price | Supplier |
|---|---|---|---|---|
| 1 | 3D-printed parts | – | – | – |
| 2 | M3 Screws | 92 | – | – |
| 3 | F686ZZ Bearings | 18 | – | – |
| 4 | M3 Heat set inserts | 92 | – | – |
| 5 | MG996/MG996R Servo | 18 | – | – |
| 6 | Servo2040 | 1 | – | – |
| 7 | Raspberry Pi 5 | 1 | – | – |
| 8 | 7.4V 2S LiPo Battery | 1 | – | – |
| 9 | 8A UBEC | 2 | – | Supplier: buy 8A UBEC, opens in a new tab |
9 of 9 parts have no price in the source, so there is no parts total. Read from README.md at the pinned commit.
Build guide
The creator's steps, each with its instructions.
- 1Modify the servos with the servo_mod bearing part
- 2Add heat set inserts to the 3D-printed parts
- 3Build the six legs
- 4Connect all the legs to the base
- 5Add the electronics and stiffeners
- 6Power the robot
The guide appears here as you scroll.
Guide by @ggldnl (README.md), under CERN-OHL-W-2.0.
Wiring and electronics
Notes written by Robotheca from the project's documents.
Main parts
- Raspberry Pi 5 as main computer
- Servo2040 board driving the servos
- 18 MG996/MG996R servos (MG996R cheaper but less powerful, MG996 recommended)
- 7.4V 2S LiPo battery
- Two 8A UBECs, one for the servos and one for the electronics
- Optional custom Hexapod PCB that serves as base plate and power connector
Connections
- One UBEC powers the Raspberry Pi and Servo2040, set to 5V on the channel used; without the custom PCB the Servo2040 gets power over the UART connection
- The other UBEC powers the servos through the terminal block on the Servo2040, at 6V
- The two UBEC inputs are soldered together and fed from the battery
- Without the custom PCB, the Servo2040 and Raspberry Pi are mounted on electronics_mount.stl and connected by wires, with wire extenders needed for the rear legs
- Servo2040 mounting holes are 2.7 mm, so M2 screws and heat-set inserts are needed in the no-PCB build