Watney
Watney is a low-cost, 3D-printable, Raspberry Pi-based FPV telepresence rover with HD video and bi-directional audio.
- Wheeled
- Open source
- 3D printable
Suggested by Robotheca, created by @nikivanov (opens in a new tab), from github.com/nikivanov/watney (opens in a new tab). Pinned to commit 95ab8e0 (opens in a new tab).
- Hardware license
- GPL-3.0-only (opens in a new tab)
- Software license
- GPL-3.0-only (opens in a new tab)
- Commercial use
- Allowed
Some folders have their own license: js/ui/ (MIT).
This repository contains executable files that Robotheca doesn't check. Only run them if you trust the creator.
Photo and 3D model
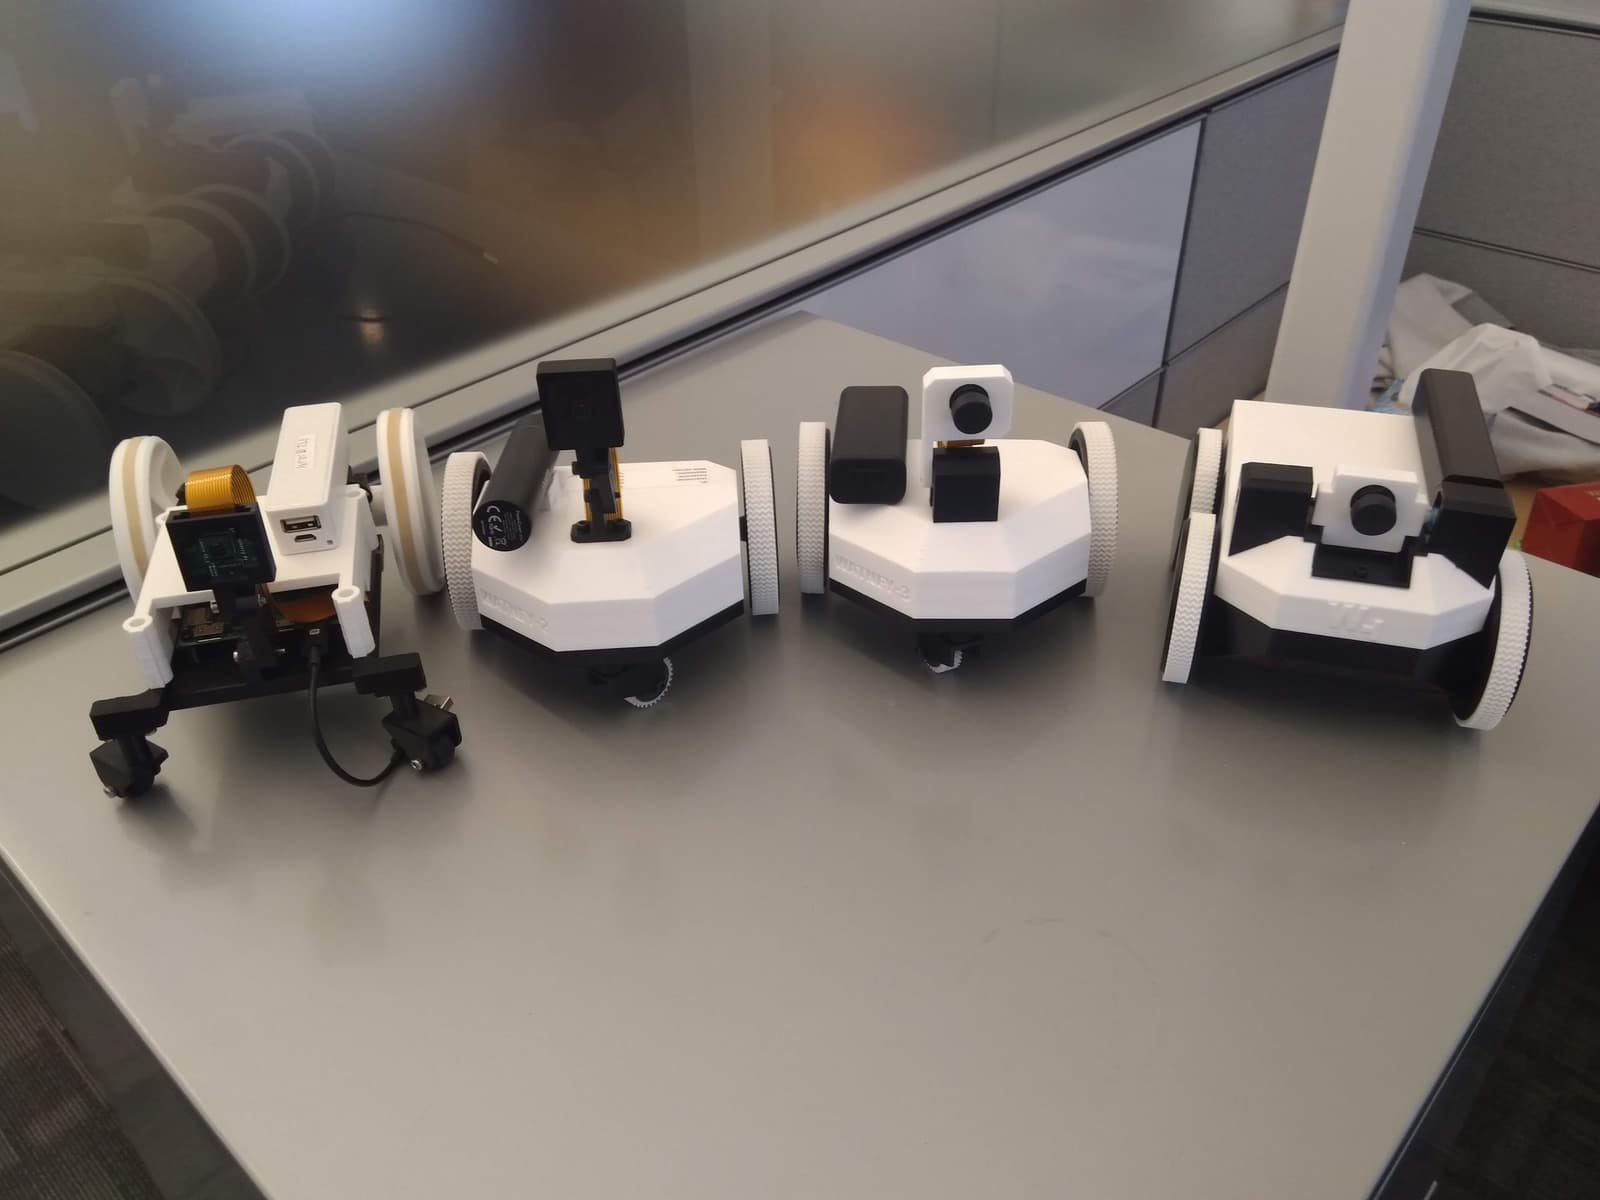
3D preview converted from github.com/nikivanov/watney at 95ab8e0, under GPL-3.0-only. View the original files from GitHub (5.6 MB) (opens in a new tab)
What it can do
Written by Robotheca from the project's documents.
- Telepresence rover built on a Raspberry Pi, controlled through a browser interface on port 5000.
- Streams low-latency HD video from a camera module as hardware-encoded h264.
- Provides bi-directional audio with echo cancellation.
- Drives with motors on each side and can detect being taken off its charging dock.
- Can attempt to re-dock by driving forward for one second when off-charger re-docking is enabled in its config.
Bill of materials
This repository has no parts list Robotheca can read yet.
Build guide
The creator's steps, each with its instructions.
- 1Update the UPS power supply firmware to v10
- 2Print the 3D printable parts with 0.2mm layer height (tires in TPU, others in PE
- 3Write the Watney SD card image to an SD card
- 4Assemble the rover following the detailed assembly video and wiring diagrams
- 5Configure Wi-Fi and rover settings
The guide appears here as you scroll.
Guide by @nikivanov (README.md), under GPL-3.0-only.
More guides
Wiring and electronics
Notes written by Robotheca from the project's documents.
Main parts
- Raspberry Pi (3A+ is the design target; 4B reportedly works).
- Raspberry Pi camera module (v3 needs a software change to work).
- Motors driving each side of the rover.
- Servo(s) listed in the wiring diagrams.
- LEDs listed in the wiring diagrams.
- UPS power supply board (firmware v10 recommended).
- Lithium Ion batteries and a charging dock with passthrough charging.
- Audio hardware (wiring diagram provided, parts not named in the text).
Connections
- Wiring diagrams for audio, LEDs, motors and servos are provided in the images/wiring folder.
- Motor direction can be corrected by swapping ForwardPin and ReversePin in rover.conf.
- Other GPIO pins can be chosen by editing the pin settings in rover.conf.
- Most connections are made with standard breadboard jumper wire, with some soldering.


