RoboPrime
A 21 degree-of-freedom, 3D-printed humanoid robot controlled by an ATmega328P board over Bluetooth.
- Humanoid
- Open source
- arduino
- 3D printable
Suggested by Robotheca, created by @simonepri (opens in a new tab), from github.com/simonepri/roboprime (opens in a new tab). Pinned to commit e2f3e4f (opens in a new tab).
- Hardware license
- GPL-3.0-only (opens in a new tab)
- Software license
- GPL-3.0-only (opens in a new tab)
- Commercial use
- Allowed
This repository contains executable files that Robotheca doesn't check. Only run them if you trust the creator.
Which files (1 file marked executable, 1 program or installer)
Photo and 3D model
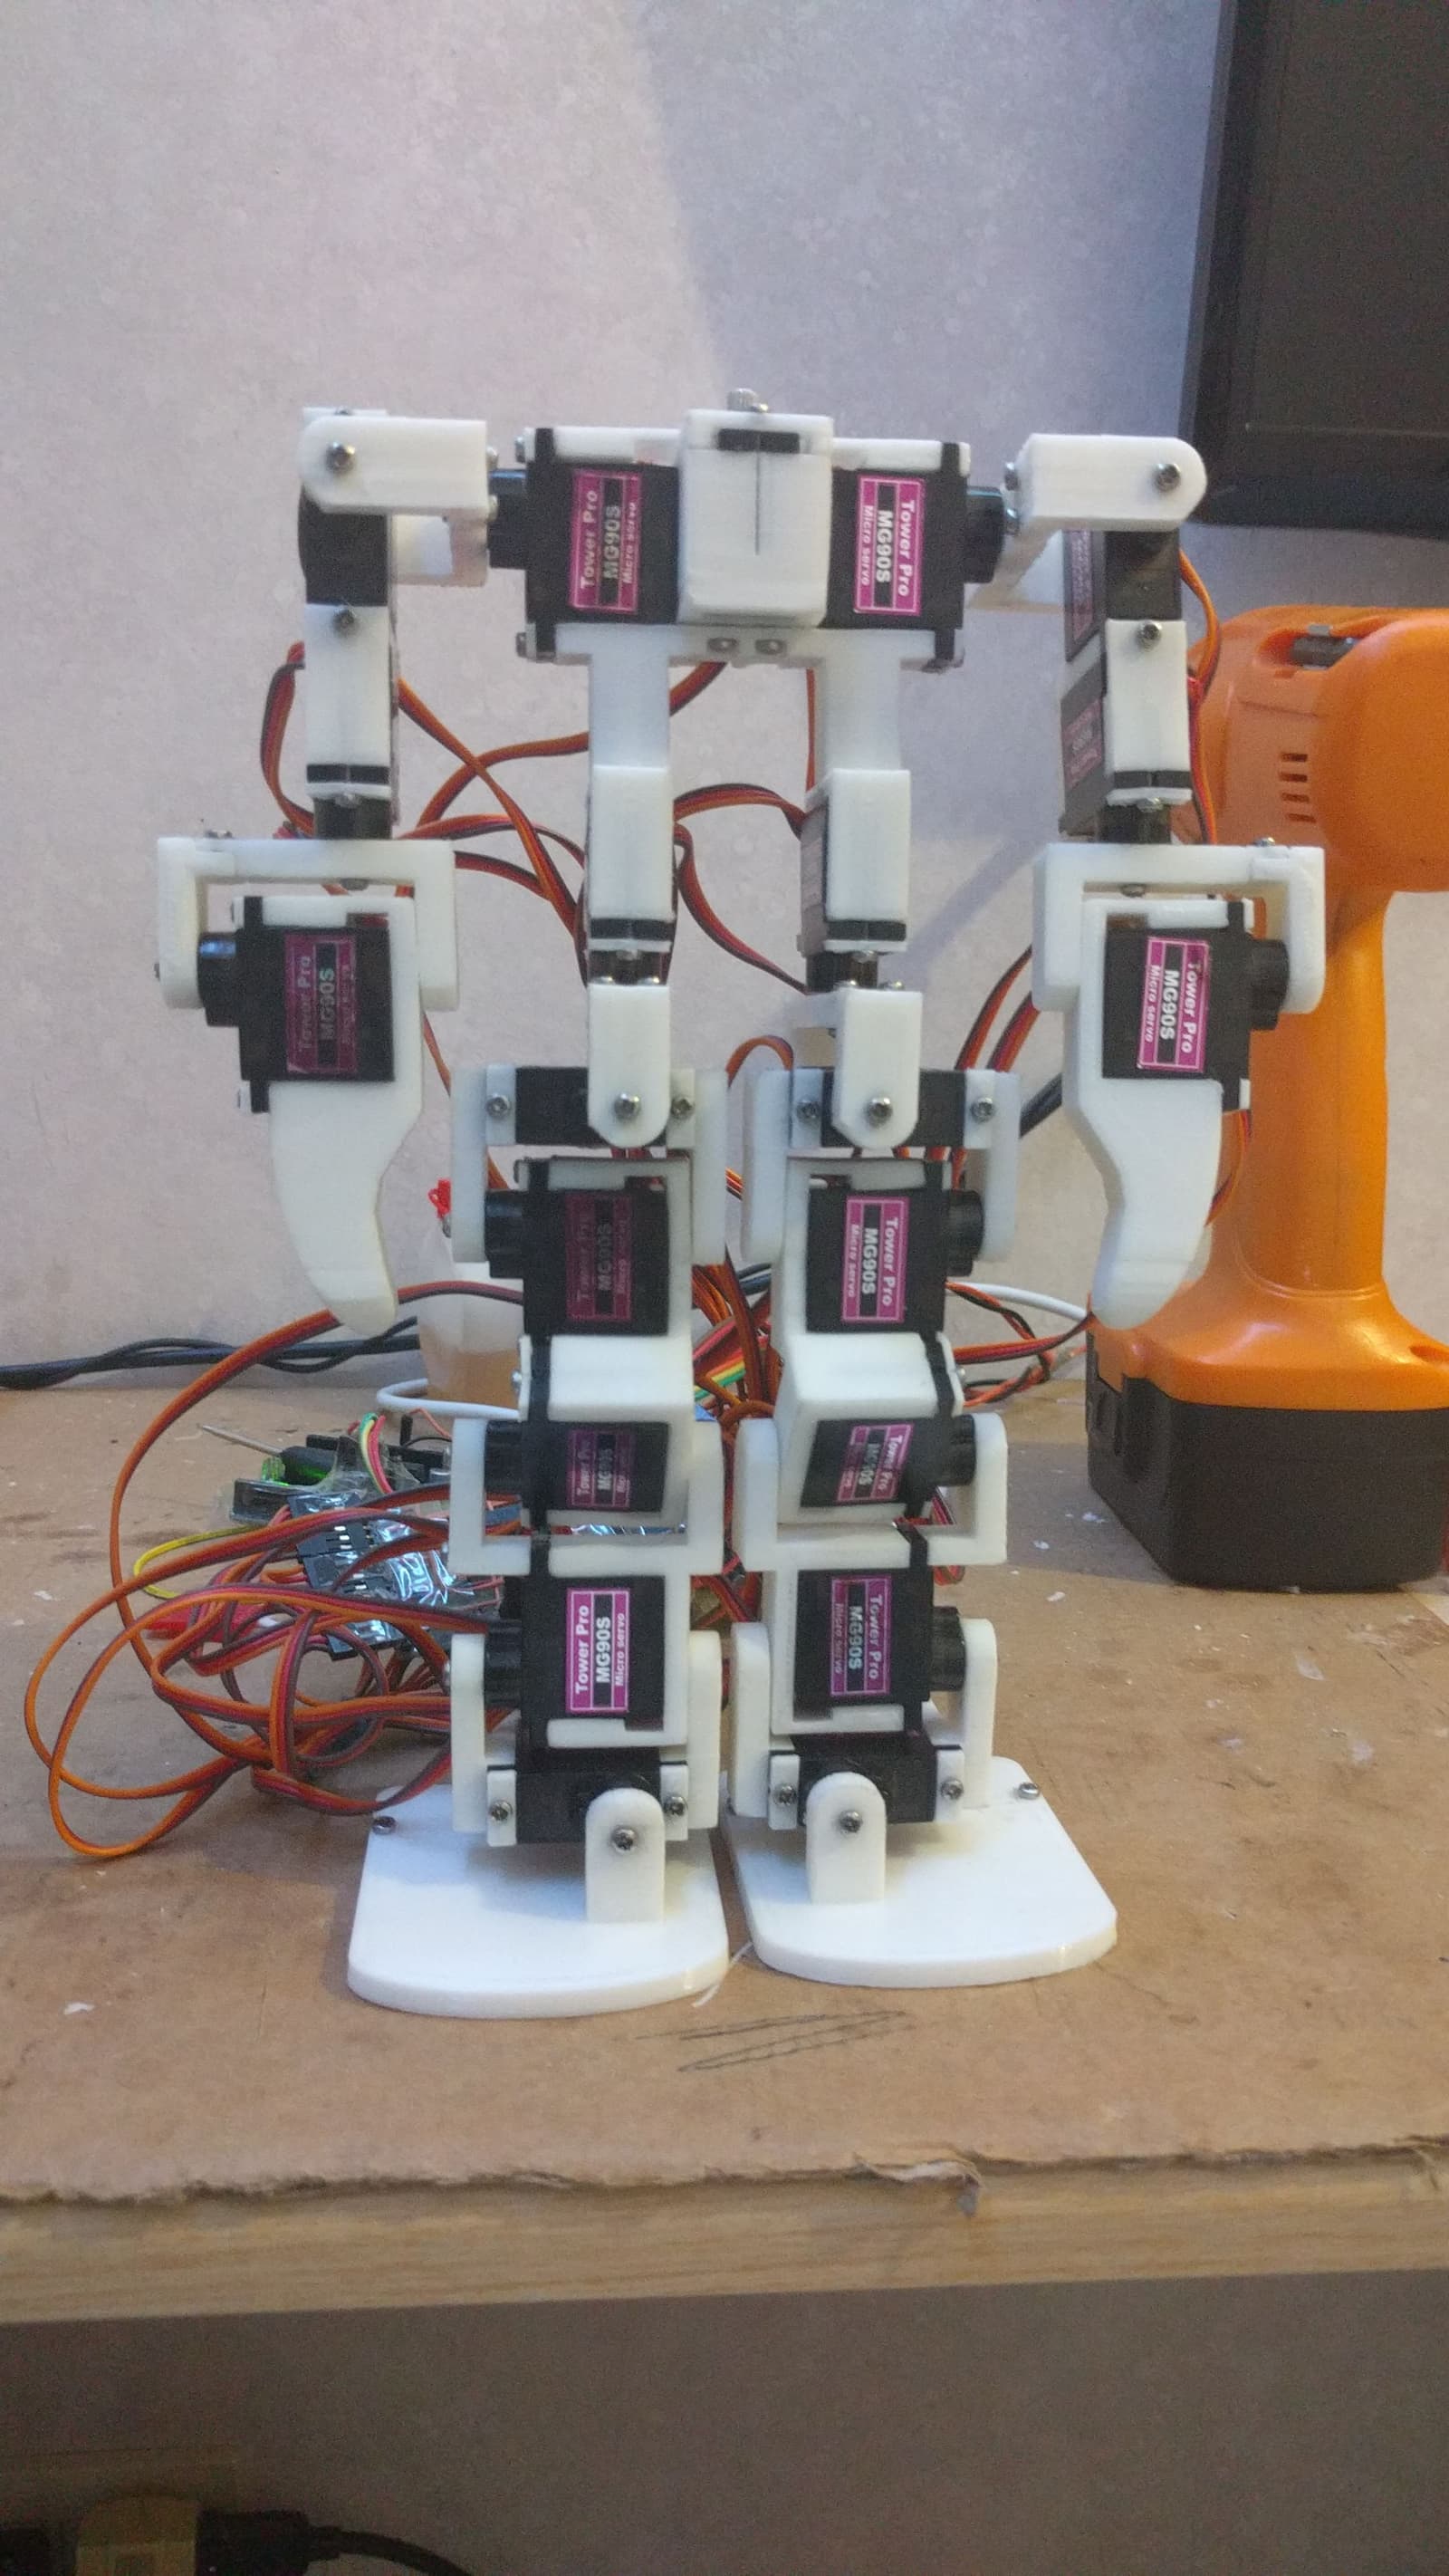
3D preview converted from github.com/simonepri/roboprime at e2f3e4f, under GPL-3.0-only. View the original files from GitHub (1.2 MB) (opens in a new tab)
- Degrees of freedom
- 21
What it can do
Written by Robotheca from the project's documents.
- Full-featured 21 DOF 3D-printed humanoid robot built around an ATmega328P-based board.
- Controlled over Bluetooth through a serial command protocol.
- Commands move servos to angles, sweep them over time, queue synchronized movements, and set pulse widths for calibration.
- Hardcoded animations include forward walk (work in progress), sit down, hello and a gesture; other walking animations are not implemented.
Bill of materials
7 parts7 of 7 parts shown
| # | Component | Quantity | Est. price | Supplier |
|---|---|---|---|---|
| 1 | Arduino Pro Micro (Atmega328p) | 1 | – | – |
| 2 | HC-05 (Bluetooth) | 1 | – | – |
| 3 | 74HC4017 (5-stage Johnson decade counter) | 2 | – | – |
| 4 | MPU-6050 (Gyroscope + Accellerometer UNUSED) | 1 | – | – |
| 5 | MG90S 9G (Servo motors) | 21 | – | – |
| 6 | 5A DC-DC (Voltage step-down Used to power the servos) | 2 | – | – |
| 7 | Ad-hoc board (See wiring section) | 1 | – | – |
7 of 7 parts have no price in the source, so there is no parts total. Read from README.md at the pinned commit.
Build guide
The creator's steps, each with its instructions.
- 1Print the 3D parts in ABS
- 2Assemble the pieces with M2 screws
- 3Wire the electronics according to the schematics
- 4Upload the firmware with the Arduino IDE
The guide appears here as you scroll.
Guide by @simonepri (README.md), under GPL-3.0-only.
More guides
Wiring and electronics
Notes written by Robotheca from the project's documents.
Main parts
- Arduino Pro Micro (ATmega328P) as main controller.
- HC-05 Bluetooth module for wireless commands.
- Two 74HC4017 Johnson decade counters.
- MPU-6050 gyroscope and accelerometer, listed but unused.
- 21 MG90S 9G servo motors.
- Two 5A DC-DC step-down converters powering the servos.
- Custom ad-hoc board connecting the parts.
Connections
- Schematics are provided as Fritzing files in the schematics folder.
- The servo power comes from the DC-DC step-down converters rather than the controller.
- Wiring details are shown in the project's Fritzing schematic image.
Cables and connectors
From the parts list.
- Ad-hoc board (See wiring section) × 1