OpenKidCar (Ganbei No.1)
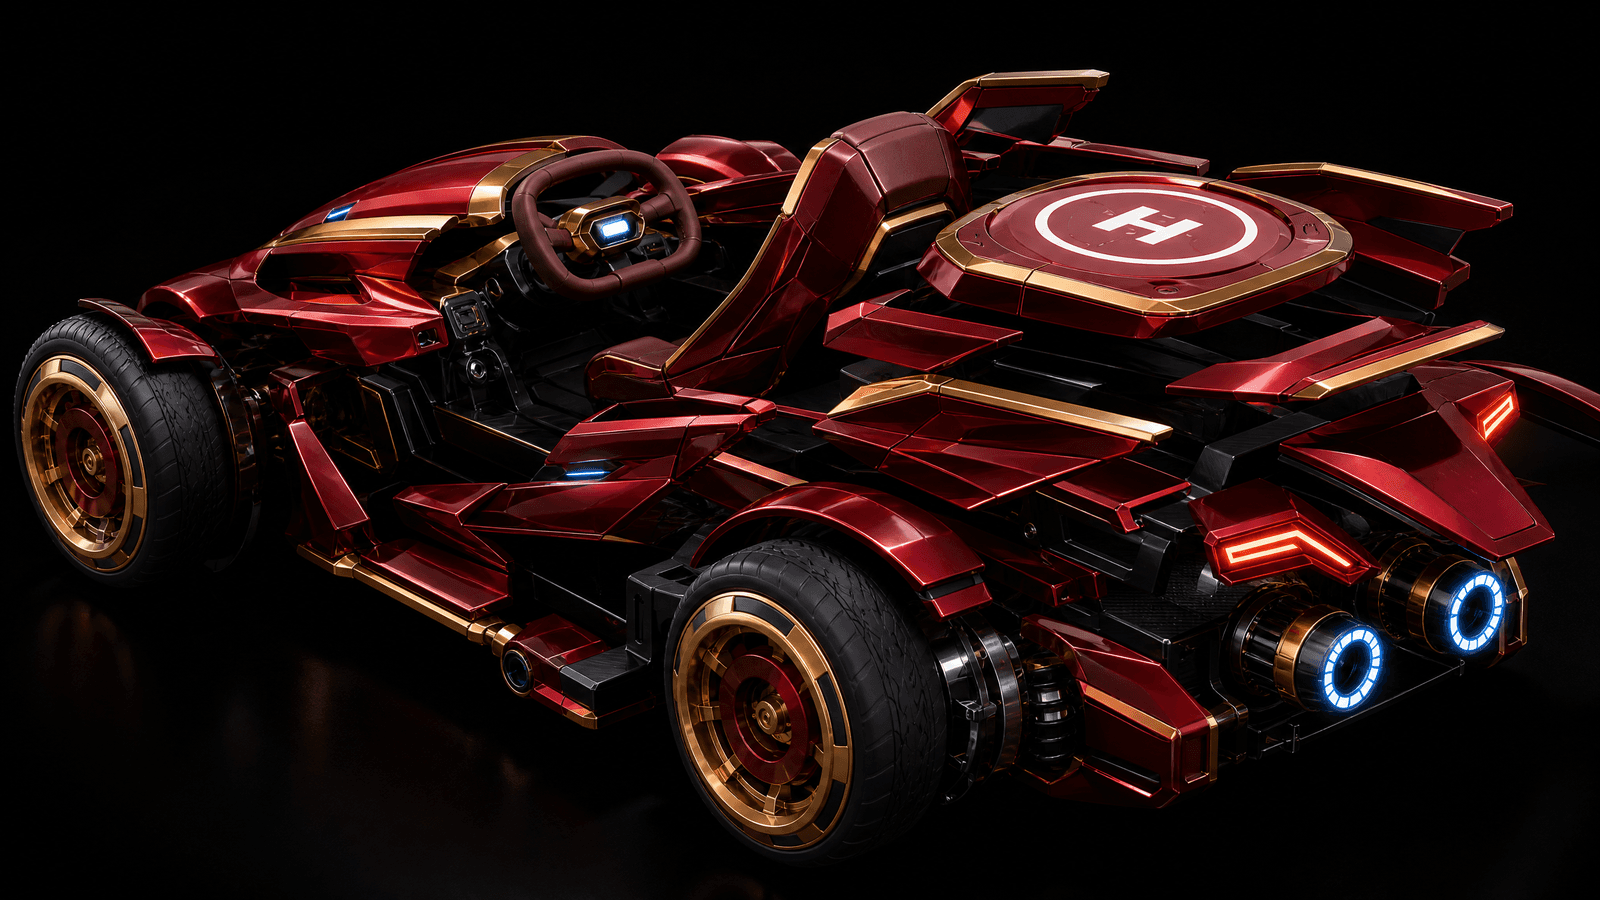
An open-source AI-powered smart children's electric car designed for parent-child co-creation and maker education.
- Other
- Open source
- Work in progress
- Works with AI
- arduino
- 3D printable
Suggested by Robotheca, created by @RevolutionLA (opens in a new tab), from github.com/RevolutionLA/OpenKidCar (opens in a new tab). Pinned to commit a7b0c9d (opens in a new tab).
- Hardware license
- MIT (opens in a new tab)
- Software license
- MIT (opens in a new tab)
- Commercial use
- Allowed
This repository contains executable files that Robotheca doesn't check. Only run them if you trust the creator.
Photo
What it can do
Written by Robotheca from the project's documents.
- AI voice assistant control (e.g., 'turn on headlights')
- Remote control via web interface (throttle, steering, lights, horn)
- Real-time GPS tracking and route replay on parent's phone
- Two-way voice communication between parent and child
- Video streaming from the car to parent's phone
- Emergency brake via physical button or remote command
- Headlight, brake light, turn signals, and RGB LED strip control
- Throttle and brake pedal input reading
Works with AI
Found by Robotheca in the project's files at commit a7b0c9d, its robot.yaml and Robotheca's notes on its documents. Never guessed; Robotheca doesn't run the code.
Uses an AI voice assistant: Xiaozhi
In the project files: software/raspberry_pi/tools/capture_xiaozhi_reply.py“AI voice assistant control (e.g., 'turn on headlights')”
Robotheca's notes: What it can do“On Raspberry Pi: start the Xiaozhi voice assistant bridge: .venv/bin/python digital_twin/backend/xiaozhi_bridge.py 8010”
Robotheca's notes: How to run it
Bill of materials
31 parts31 of 31 parts shown
| # | Component | Quantity | Est. price | Supplier |
|---|---|---|---|---|
| 1 | 树莓派 4B(4GB 或 8GB) | 1 | – | – |
| 2 | 树莓派电源(5V/3A Type-C) | 1 | – | – |
| 3 | Arduino Mega 2560 | 1 | – | – |
| 4 | microSD 卡(32GB+) | 1 | ¥30≈ €4 | – |
| 5 | 散热片 + 风扇 | 1 | ¥20≈ €3 | – |
| 6 | 直流电机(或有刷电机) | – | – | – |
| 7 | 电子调速器(电调 ESC,双向) | 1 | – | – |
| 8 | 电池(12V,锂电池组) | 1 | – | – |
| 9 | 电池充电器 | 1 | – | – |
| 10 | DC-DC 降压模块(12V→5V/3A) | 1 | – | – |
| 11 | 舵机(转向) | 1 | – | – |
| 12 | USB 麦克风 | 1 | – | – |
| 13 | USB 音箱/声卡 | 1 | – | – |
| 14 | 功放 + 扬声器 | 1 | – | – |
| 15 | 油门踏板传感器(霍尔/电位器) | 1 | – | – |
| 16 | 刹车踏板传感器(霍尔/电位器) | 1 | – | – |
| 17 | 坐垫压力传感器 | 1 | – | – |
| 18 | 按键开关 | 6 | ¥10≈ €1 | – |
| 19 | NTC 热敏电阻 | 1 | ¥5≈ €1 | – |
| 20 | 分压电阻(10K/4.7K) | – | ¥5≈ €1 | – |
| 21 | 前大灯 LED(带继电器/高边驱动) | 1 | – | – |
| 22 | 刹车灯 LED | 1 | ¥10≈ €1 | – |
| 23 | 转向灯 LED ×2 | 2 | ¥10≈ €1 | – |
| 24 | WS2812B RGB 灯带 | 1 | – | – |
| 25 | 继电器/高边驱动模块 | 2 | – | – |
| 26 | 双向电平转换模块(5V↔3.3V) | 1 | ¥10≈ €1 | – |
| 27 | 4G 模块(SIM7600 等) | 1 | – | – |
| 28 | GPS 模块(可 4G+GPS 二合一) | 1 | – | – |
| 29 | 杜邦线(公对公/公对母) | – | ¥10≈ €1 | – |
| 30 | 面包板 | 1 | ¥10≈ €1 | – |
| 31 | USB 数据线(micro/Type-C) | 2 | ¥10≈ €1 | – |
≈ € amounts use the ECB reference rate of 14 Oct 2026, for comparison only.
20 of 31 parts have no price in the source, so there is no parts total. Read from docs/hardware_bom.md at the pinned commit.
Build guide
The creator's steps, each with its instructions.
- 1Prepare hardware components and tools
- 2Assemble the chassis and motor system
- 3Install the Raspberry Pi and Arduino control units
- 4Connect the power system and wiring
- 5Flash the Arduino firmware
- 6Set up the Raspberry Pi software
- 7Install and configure the AI voice assistant
- 8Assemble and test the 3D-printed body panels
- 9Perform safety checks and calibration
The guide appears here as you scroll.
Guide by @RevolutionLA (README.md), under MIT. The English translation is by Robotheca, shared under the same license.
More guides
Wiring and electronics
Notes written by Robotheca from the project's documents.
Main parts
- Raspberry Pi 4B (4GB or 8GB)
- Arduino Mega 2560
- DC motor with bidirectional electronic speed controller (ESC)
- 12V lithium battery pack
- DC-DC buck converter (12V to 5V/3A)
- USB microphone
- USB speaker/sound card
- Amplifier and speaker for engine sounds
- Hall effect or potentiometer throttle and brake pedal sensors
- Seat pressure sensor
- NTC thermistor for temperature monitoring
- WS2812B RGB LED strip
Connections
- Raspberry Pi UART (GPIO14 TXD → level shifter → Arduino Mega RX1 D19; GPIO15 RXD ← level shifter ← Arduino Mega TX1 D18; GND shared)
- Arduino D9 → ESC signal wire for motor throttle control
- Arduino D10 → servo motor signal wire for steering (future)
- Arduino D2 → relay/high-side driver → headlight
- Arduino D3 → brake light LED with resistor
- Arduino D4 → left turn signal LED with resistor
- Arduino D5 → right turn signal LED with resistor
- Arduino D11 → WS2812B LED strip data line
- Arduino A0 → throttle pedal sensor (analog 0-1023)
- Arduino A1 → brake pedal sensor (analog 0-1023)
Cables and connectors
From the parts list.
- 杜邦线(公对公/公对母)
- USB 数据线(micro/Type-C) × 2