G-Arm
A full open-source 3D printed robotic arm controlled through GRBL, ROS 2 and MoveIt 2.
- Robot arm
- Open source
- ROS 2
- 3D printable
Suggested by Robotheca, created by @vidalperezbohoyo (opens in a new tab), from github.com/vidalperezbohoyo/g-arm (opens in a new tab). Pinned to commit 506ba11 (opens in a new tab).
- Hardware license
- CERN-OHL-S-2.0 (opens in a new tab)
- Software license
- CERN-OHL-S-2.0 (opens in a new tab)
- Commercial use
- Allowed
Photo
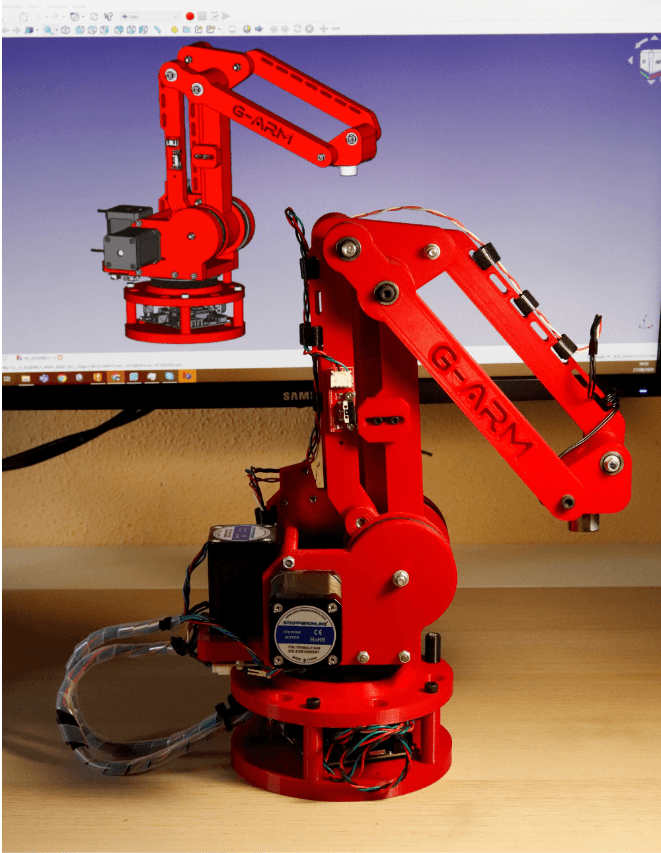
What it can do
Written by Robotheca from the project's documents.
- Robotic arm built from 3D printed parts, controlled through ROS 2 and MoveIt 2
- Can be driven in simulation without the physical robot, for developing behaviors
- Trajectories and object pickup with an electromagnet are shown in Python examples
- Can be controlled through the Rviz MoveIt UI plugin or by code inside MoveIt
- Can also be controlled at a middle level with Python classes, though this is not recommended
Bill of materials
This repository has no parts list Robotheca can read yet.
Build guide
The creator's steps, each with its instructions.
- 1Generate the STL files from the FreeCAD source files
- 2Print the parts at the recommended densities
- 3Buy the listed purchasable parts or equivalents
- 4Assemble the robot using the FreeCAD assembly file
- 5Connect the electronics following the electronic diagram
- 6Install the GRBL firmware and configure it
- 7Install ROS 2 Humble, MoveIt 2 and the PyMoveit2 API
- 8Copy the g_arm ROS 2 packages into the workspace and source them
- 9Run the G-Arm ROS 2 driver and the MoveIt 2 launcher
The guide appears here as you scroll.
Guide by @vidalperezbohoyo (README.md), under CERN-OHL-S-2.0.
Wiring and electronics
Notes written by Robotheca from the project's documents.
Main parts
- MKS DLC32 board is the controller board the documents name for the base
- GRBL-based firmware runs on the robot base
- Electromagnet used to take objects
Connections
- Electronics are connected according to an electronic diagram in the project wiki