EEZYbotARM
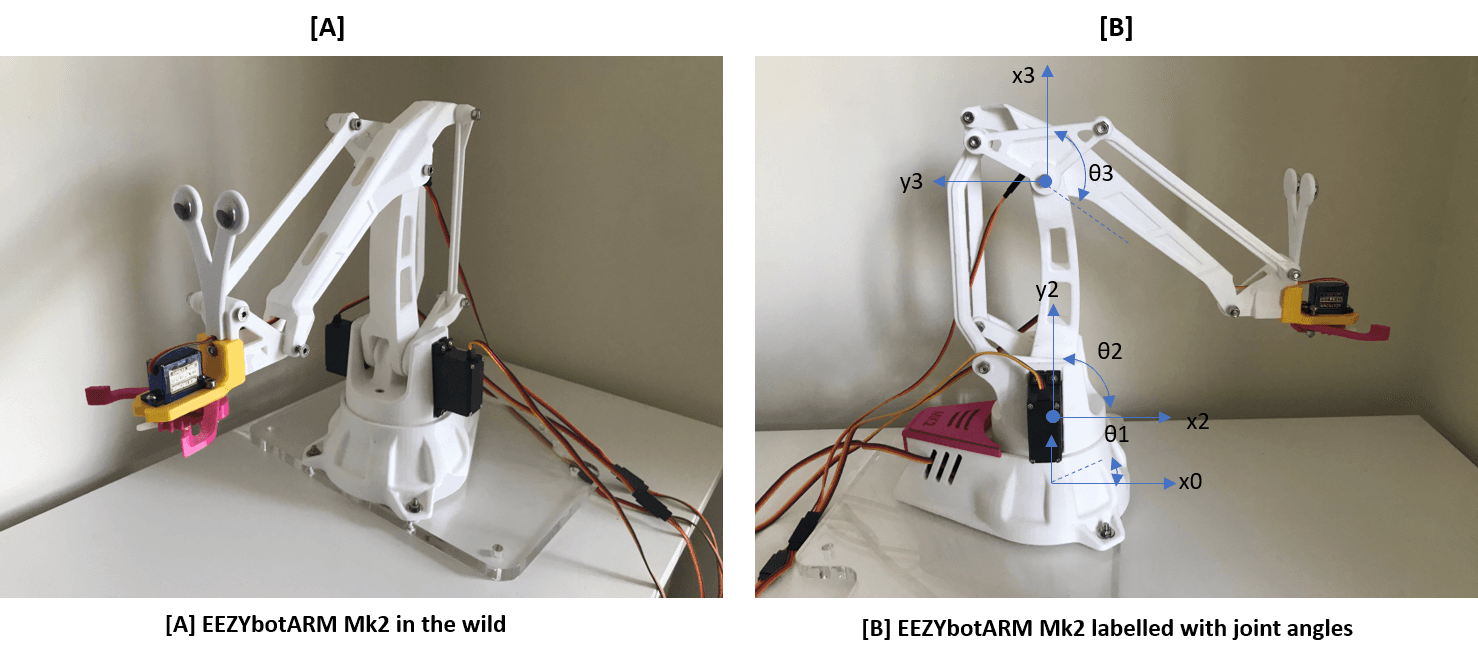
A four-axis, 3D-printable hobby robot arm controlled from Python and Arduino, with 3-D forward and inverse kinematics.
- Robot arm
- Open source
- arduino
- 3D printable
Suggested by Robotheca, created by @meisben (opens in a new tab), from github.com/meisben/easyEEZYbotARM (opens in a new tab). Pinned to commit 00ff522 (opens in a new tab).
- Hardware license
- MIT (opens in a new tab)
- Software license
- MIT (opens in a new tab)
- Commercial use
- Allowed
Photo
What it can do
Written by Robotheca from the project's documents.
- Forward kinematics: maps joint angles to the x, y, z position of the end effector
- Inverse kinematics: maps x, y, z coordinates to joint angles for 3-D control of the arm
- Plots a simulated robot arm and its workspace, and checks whether a point lies inside it
- Communicates with an Arduino microcontroller over a link to control arm position
- Arduino side drives the arm's servo motors smoothly using the ServoEasing library
- Designed as a hobby robot arm for learning projects, not for lifting heavy loads
- Does not support straight-line trajectories because the hobby servos have no position feedback
Bill of materials
This repository has no parts list Robotheca can read yet.
Build guide
The creator's steps, each with its instructions.
- 1Install the Python package with pip install -e .
- 2Upload the Arduino sketch to the microcontroller
- 3Enable USE_PCA9685_SERVO_EXPANDER in ServoEasing.h
- 4Wire the servo motors to the PCA9685 board as per the reference diagram
- 5Build the EEZYbotARM from the eezyrobots.it instructions
- 6Install servo motors in the 90 degree reference positions
- 7Calibrate servo angles for positional accuracy
The guide appears here as you scroll.
Guide by @meisben (README.md), under MIT.
More guides
Wiring and electronics
Notes written by Robotheca from the project's documents.
Main parts
- Arduino microcontroller running the servo control sketch
- PCA9685 low-cost servo driver board designed by Adafruit
- Hobby servo motors for the arm joints q1, q2 and q3
- DC battery pack as the power source, rated below 6 volts
Connections
- PCA9685 servo driver board is wired to the Arduino and drives the servo motors
- The battery pack supplies power to the servo driver board and servos
- The reference wiring diagram was made in Fritzing and the Fritzing files are in the fritzing_files folder