AlohaMini2
AlohaMini2 is an open-source dual-arm mobile robot with a motorized vertical lift, built for embodied AI research and real-world manipulation.
- Home
- Open source
- Works with AI
- LeRobot
- 3D model (URDF)
- 3D printable
Suggested by Robotheca, created by @liyiteng (opens in a new tab), from github.com/liyiteng/AlohaMini (opens in a new tab). Pinned to commit 17c6a98 (opens in a new tab).
- Hardware license
- Apache-2.0 (opens in a new tab)
- Software license
- Apache-2.0 (opens in a new tab)
- Commercial use
- Allowed
Photo and 3D model
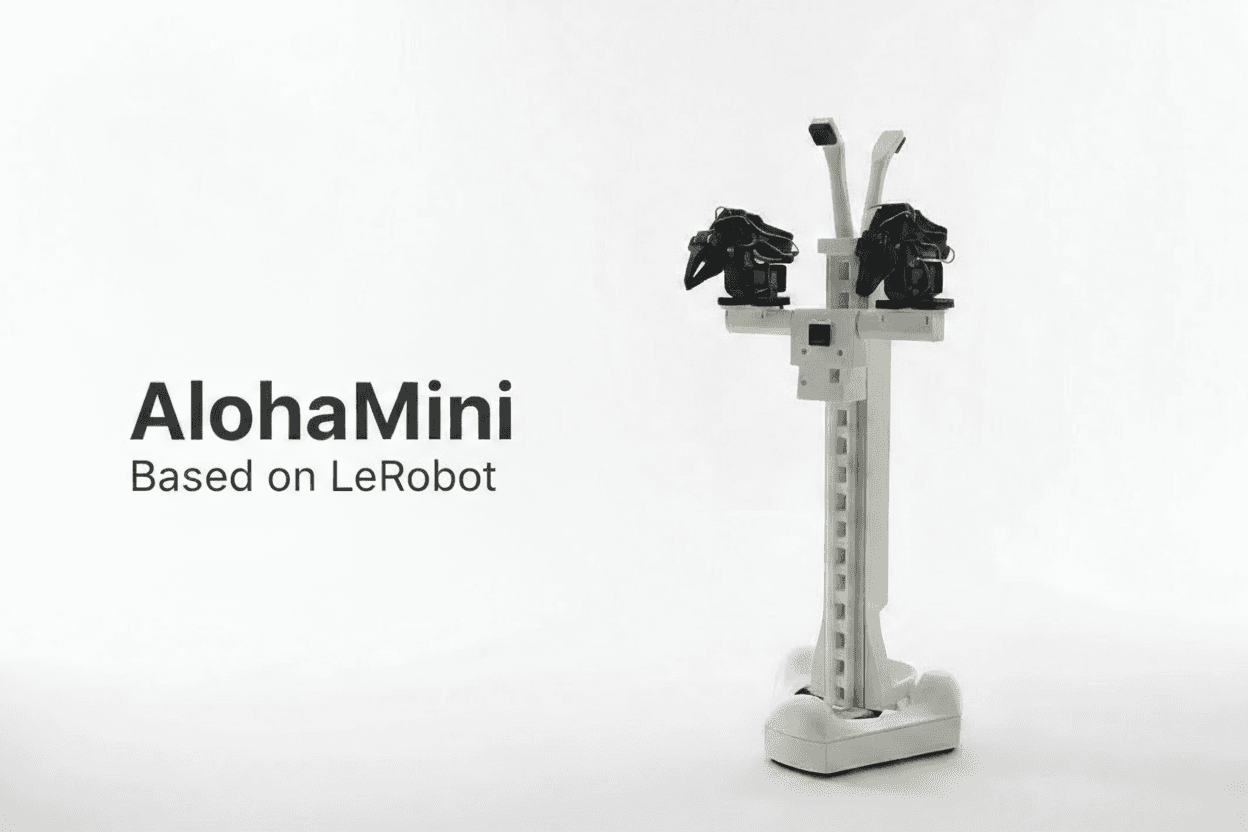
3D preview converted from github.com/liyiteng/AlohaMini at 17c6a98, under Apache-2.0. View the original files from GitHub (15.1 MB) (opens in a new tab)
- Reach
- 52 cm
- Payload
- 70 kg
What it can do
Written by Robotheca from the project's documents.
- Dual-arm mobile robot with a motorized vertical lift for floor-to-table reach
- Omni-wheel base driven by three servos, with keyboard drive test (W/S/A/D) via debug script
- Lift axis controlled by a servo (U/J test keys) to raise and lower the tower
- Five cameras: forward, backward, chest, and dual wrist views
- Designed for LeRobot embodied AI teleoperation, data collection and deployment
- AlohaMini2 claims 70 kg base load, 30 kg lift, 1 kg arm payload and 52 cm reach
Works with AI
Found by Robotheca in the project's files at commit 17c6a98, its robot.yaml and Robotheca's notes on its documents. Never guessed; Robotheca doesn't run the code.
Runs LeRobot
Stated in robot.yaml“Designed for LeRobot embodied AI teleoperation, data collection and deployment”
Robotheca's notes: What it can do
Bill of materials
22 parts22 of 22 parts shown
| # | Component | Quantity | Est. price | Supplier |
|---|---|---|---|---|
| 1 | Servo motor | 4 | $13.89≈ €12 | Alibaba: buy Servo motor, opens in a new tab |
| 2 | Omni wheel | 3 | $47≈ €42 | Amazon: buy Omni wheel, opens in a new tab |
| 3 | USB camera | 3 | – | Amazon |
| 4 | (optional) Bearing | 3 | – | Amazon |
| 5 | Bearing | 8 | – | Amazon |
| 6 | M2×12 Phillips screw | 12 | – | — |
| 7 | M3×12 hex socket screw | 36 | – | — |
| 8 | M3×18 hex socket screw | 12 | – | — |
| 9 | M3×30 hex socket screw | 8 | – | — |
| 10 | M3 hex nut | 8 | – | — |
| 11 | M3x5x4 heat-set insert | 36 | – | Amazon |
| 12 | M4×12 hex socket screw | 20 | – | Amazon |
| 13 | M4x6x5 heat-set insert | 12 | – | Amazon |
| 14 | Adhesive | 1 | – | Amazon |
| 15 | Servo extension cable | 2 | – | Alibaba: buy Servo extension cable, opens in a new tab |
| 16 | Battery | 2 | $43≈ €38 | Amazon: buy Battery, opens in a new tab |
| 17 | USB Type-C cable | 1 | $10≈ €9 | Amazon: buy USB Type-C cable, opens in a new tab |
| 18 | Waveshare Bus Servo Controller | 1 | $13≈ €12 | Amazon: buy Waveshare Bus Servo Controller, opens in a new tab |
| 19 | 3D-printed parts | 4 | – | — |
| 20 | Compute board | 1 | $80≈ €71 | Adafruit: buy Compute board, opens in a new tab |
| 21 | DC converter | 1 | $13≈ €12 | Amazon: buy DC converter, opens in a new tab |
| 22 | Monitor | 1 | – | Amazon |
≈ € amounts use the ECB reference rate of 14 Oct 2026, for comparison only.
15 of 22 parts have no price in the source, so there is no parts total. Read from AlohaMini1/docs/BOM.md at the pinned commit.
Build guide
The creator's steps, each with its instructions.
- 1Review the bill of materials and source parts
- 23D print all structural parts on a Bambu P2S
- 3Assemble the robot following the assembly guide
- 4Install the software and set up teleoperation
The guide appears here as you scroll.
Guide by @liyiteng (README.md), under Apache-2.0.
More guides
Wiring and electronics
Notes written by Robotheca from the project's documents.
Main parts
- Feetech STS-3215 standard servos for wheels and arms (12V)
- Feetech STS-3095 high-torque servo for the lift axis (12V)
- Waveshare bus servo controller boards for the servo bus
- Raspberry Pi 5 compute board, optionally replaced by Jetson Orin Nano or similar SBC
- Five 720p USB cameras
- Two 12V Li-ion batteries, one for arm power and one for compute
- 12V to 5V buck converter powering the Raspberry Pi
- Monitor/display mounted at the rear of the tower
Connections
- Wheel servos 8, 9, 10 and 11 daisy-chained with 3-pin servo cables, with a 90 cm or longer cable between servos 10 and 11
- Lift servo 11 connected by 3-pin cable to the servo driver board on the left arm
- Battery 1 feeds a 2-to-1 DC splitter powering the left and right arm DC cables
- Battery 2 feeds the buck converter, which powers the Raspberry Pi through its Type-C port
- Arm and camera cables routed through the lift tower; the left arm bundle carries wrist and chest camera USB
- Display connected by short micro-HDMI and Type-C power cables
Cables and connectors
From the parts list.
- Servo extension cable × 2
- USB Type-C cable × 1
