DIY 6-DOF Servo Robotic Arm
A custom 6-DOF robotic arm built from 3D-printed parts, driven by an Arduino Mega and PCA9685 servo driver, with serial servo angle control.
- Robot arm
- Open source
- arduino
- 3D printable
Suggested by Robotheca, created by @vshreyas121-code (opens in a new tab), from github.com/vshreyas121-code/6-dof-robotic-arm (opens in a new tab). Pinned to commit 258d189 (opens in a new tab).
- Hardware license
- MIT (opens in a new tab)
- Software license
- MIT (opens in a new tab)
- Commercial use
- Allowed
Photo and 3D model
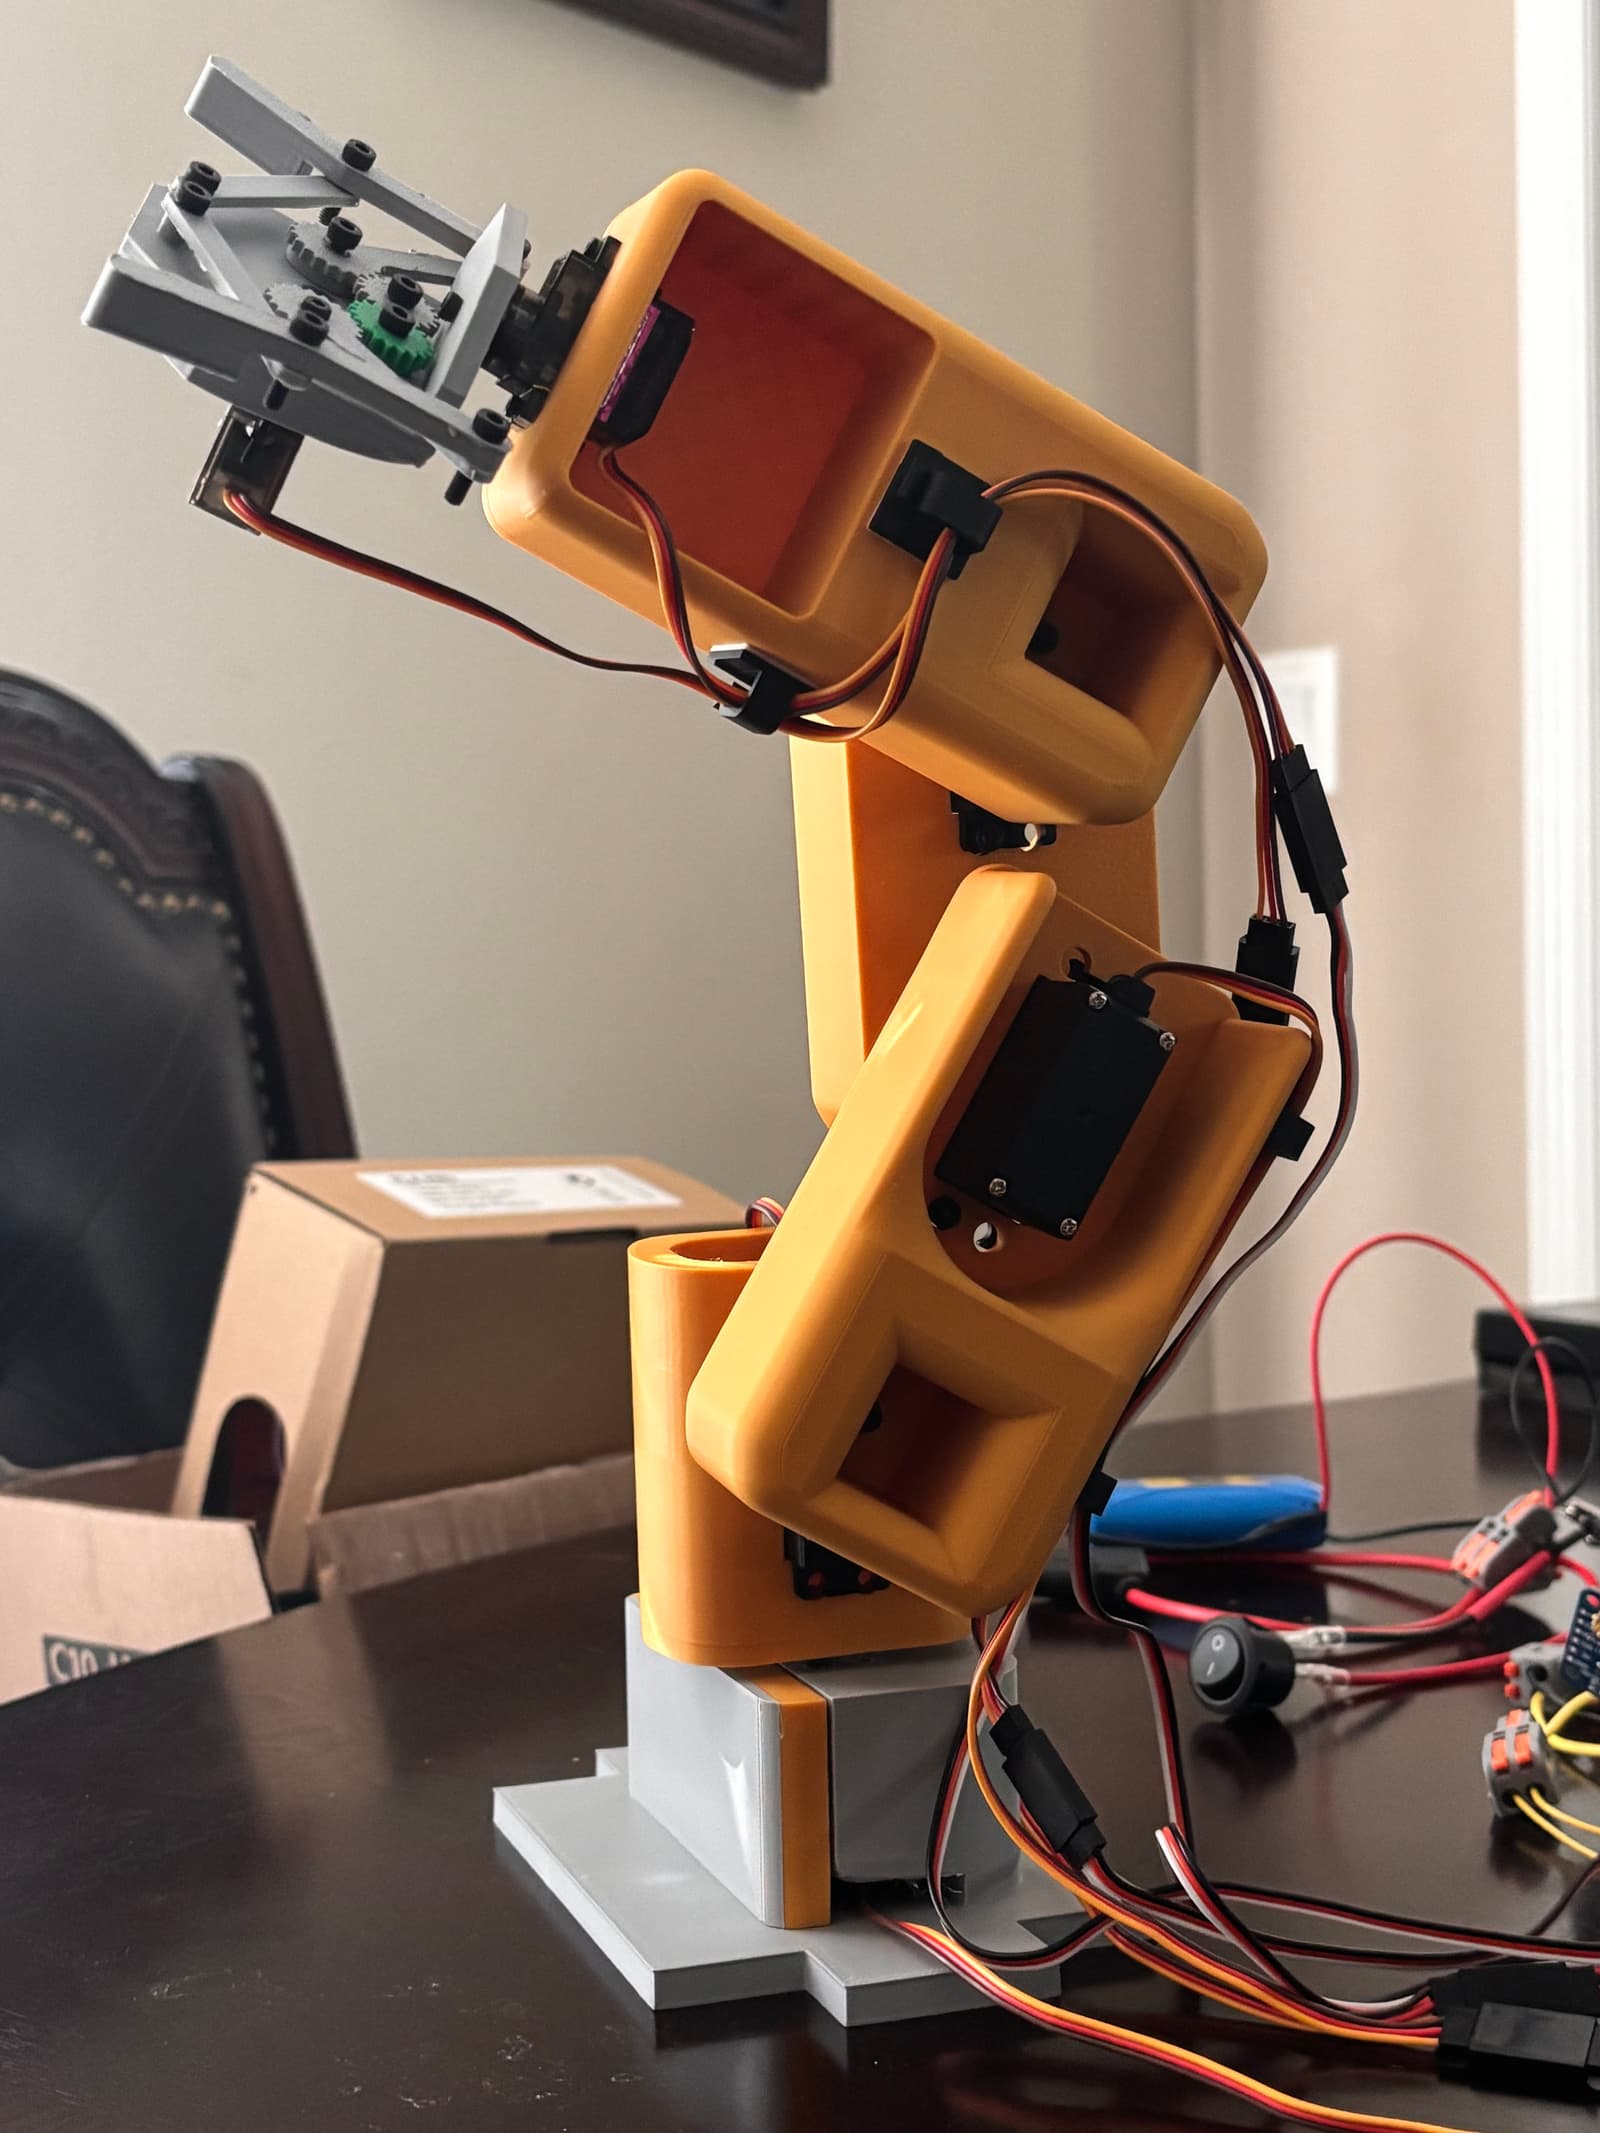
3D preview converted from github.com/vshreyas121-code/6-dof-robotic-arm at 258d189, under MIT. View the original files from GitHub (7.3 MB) (opens in a new tab)
- Degrees of freedom
- 6
What it can do
Written by Robotheca from the project's documents.
- Moves a six-joint (6-DOF) robotic arm, with each servo joint commanded individually
- Accepts six requested servo angles over the Arduino Serial Monitor from a computer
- Applies safe angle limits to servo positions before moving the arm
- Planned future features include autonomous pick-and-place and leader-follower control, not yet implemented
Bill of materials
This repository has no parts list Robotheca can read yet.
Build guide
The creator's steps, each with its instructions.
- 1Design the arm in Onshape
- 23D print the mechanical components
- 3Assemble the arm with servo horns, screws, nuts and washers
- 4Wire the power distribution: LiPo battery, fuse, switch and 5V buck converter
- 5Wire the Arduino Mega 2560, PCA9685 servo driver and six servos
- 6Upload the Arduino code and control the servo angles over serial
- 7Test, calibrate and align the servos
The guide appears here as you scroll.
Guide by @vshreyas121-code (README.md), under MIT.
Wiring and electronics
Notes written by Robotheca from the project's documents.
Main parts
- Arduino Mega 2560 as the controller
- PCA9685 16-channel PWM servo driver
- Four MG995 positional servo motors and two MG90S positional servo motors
- LiPo battery with fuse, fuse holder and power switch
- 5V buck converter supplying the Arduino and servo driver logic and servo power rail
Connections
- Battery feeds the buck converter through the fuse and power switch
- Buck converter supplies regulated 5V to the Arduino Mega, PCA9685 logic, and PCA9685 servo power rail
- Arduino Mega talks to the PCA9685 over I2C using the SDA and SCL pins
- Six positional servos are connected to PCA9685 channels 0 through 5

