Cenk AI Desk Robot
A 3D-printed desktop AI robot with an ESP32, animated eyes, a speaker, and face tracking that answers when called by name, using Gemini and ElevenLabs.
- Home
- Open source
- Works with AI
- arduino
- 3D printable
Suggested by Robotheca, created by @Marcoss53 (opens in a new tab), from github.com/Marcoss53/cenk-desktop-robot (opens in a new tab). Pinned to commit 84d091d (opens in a new tab).
- Hardware license
- MIT (opens in a new tab)
- Software license
- MIT (opens in a new tab)
- Commercial use
- Allowed
This repository contains executable files that Robotheca doesn't check. Only run them if you trust the creator.
Which files (1 script)
Photo and 3D model
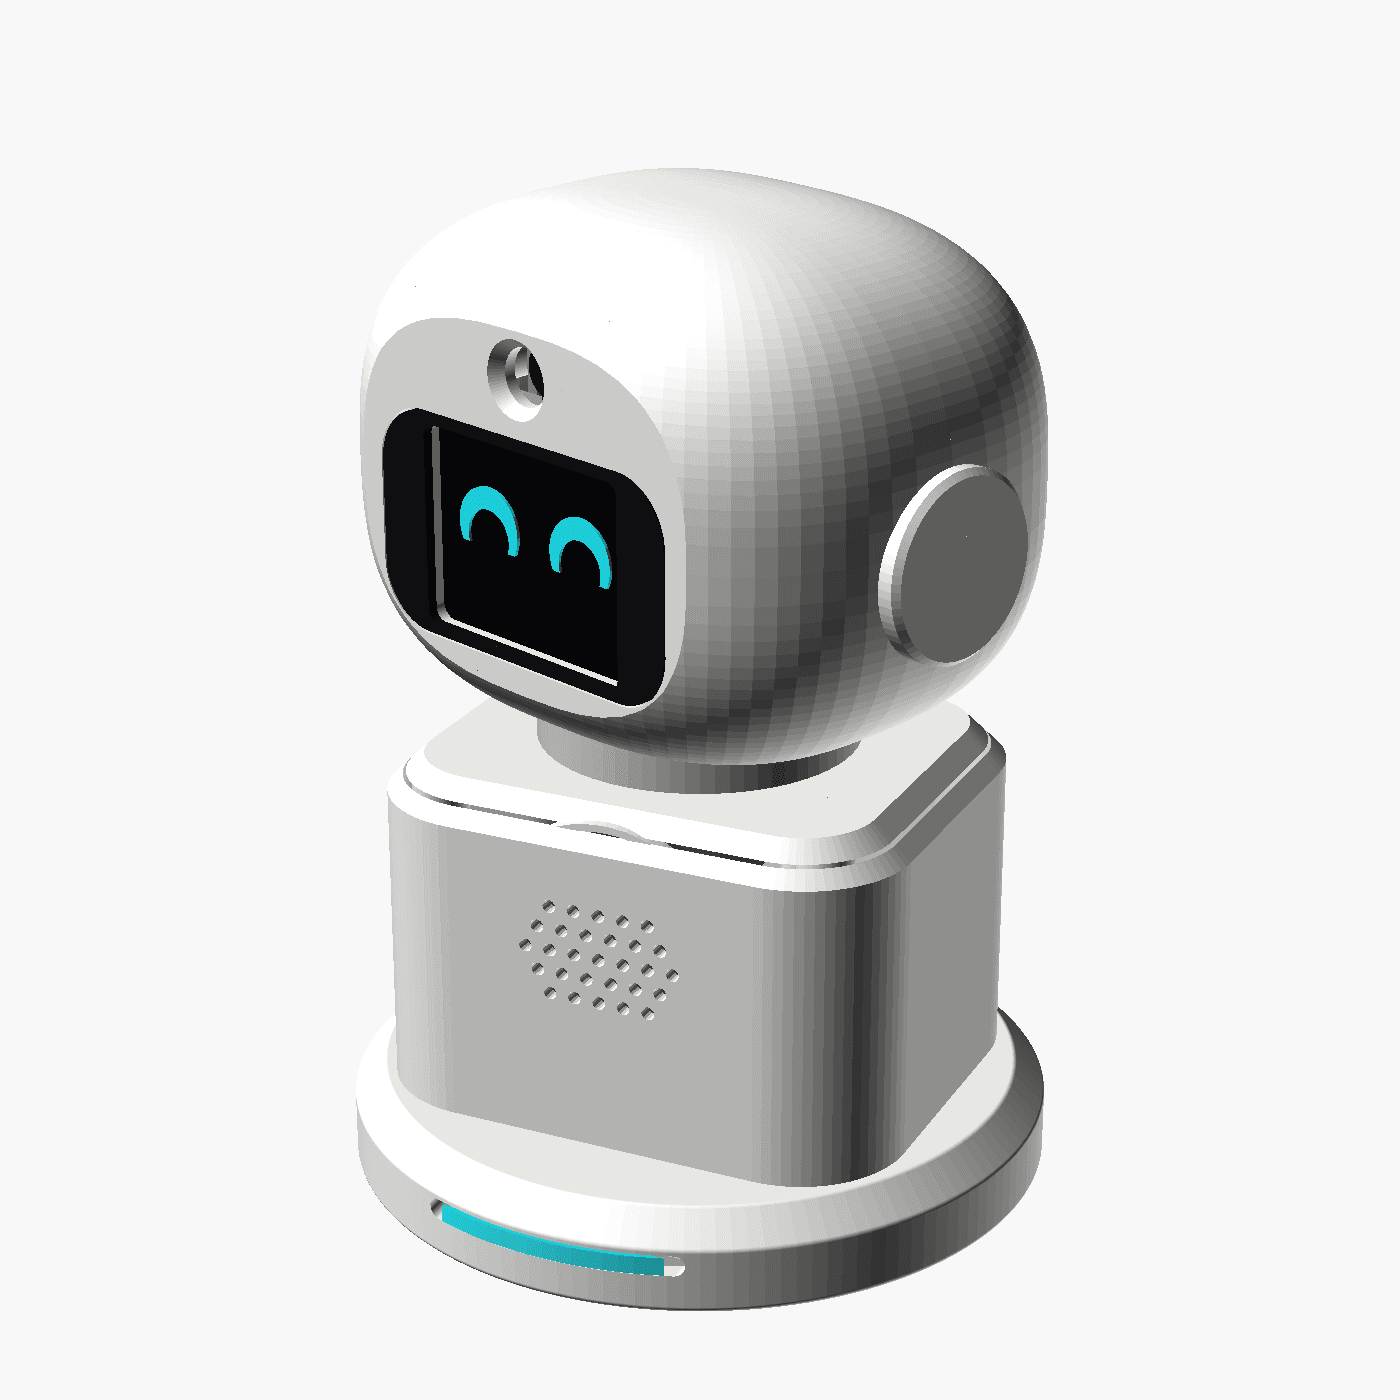
3D preview converted from github.com/Marcoss53/cenk-desktop-robot at 84d091d, under MIT. View the original files from GitHub (14.2 MB) (opens in a new tab)
What it can do
Written by Robotheca from the project's documents.
- Talks with the user: wakes on the word "Cenk" and keeps a 30-second conversation window afterward.
- Answers with a Gemini language model, switching to another Gemini model when quota runs out.
- Speaks replies with ElevenLabs or the free edge-tts voice, streamed to the robot over USB serial.
- Shows six animated eye expressions on a display, with blinking, looking around, and a mouth that moves while speaking.
- Tracks faces with OpenCV YuNet and turns its head with a servo.
- Personality is set by editing a plain text file, reloaded on each reply.
Works with AI
Found by Robotheca in the project's files at commit 84d091d, its robot.yaml and Robotheca's notes on its documents. Never guessed; Robotheca doesn't run the code.
Ships a trained model: face_yunet.onnx
In the project files: pc/face_yunet.onnx“Answers with a Gemini language model, switching to another Gemini model when quota runs out.”
Robotheca's notes: What it can do
Bill of materials
This repository has no parts list Robotheca can read yet.
Build guide
The creator's steps, each with its instructions.
- 1Install the ESP32 board package and libraries
- 2Flash the robot firmware to the ESP32
- 3Wire the display, servo, amplifier and speaker to the ESP32
- 4Install Python dependencies and ffmpeg on the PC
- 5Set the Gemini and ElevenLabs API keys as environment variables
- 6Print the STL parts and assemble with M3x10 screws
- 7Run baslat.bat and say the wake word Cenk
The guide appears here as you scroll.
Guide by @Marcoss53 (README.md), under MIT.
Wiring and electronics
Notes written by Robotheca from the project's documents.
Main parts
- ESP32 DevKit (WROOM-32) microcontroller, USB serial at 921600 baud.
- Waveshare 2-inch ST7789V IPS TFT display, 240x320, SPI.
- SG90 servo (metal-geared MG90S suggested) for head rotation.
- PAM8403 mini stereo amplifier powered from 5V.
- 3W 4-8 ohm speaker of about 40 mm.
- Logitech C270 webcam, providing camera and microphone to the PC over USB.
- Windows PC running the Python program.
Connections
- TFT display: CS to D5, DC to D16, RST to D17, BL to D4, CLK to D18, DIN to D23, VCC to 3V3, GND to GND.
- SG90 servo signal wire to D13; servo VCC to 5V (VIN) and GND to GND.
- PAM8403 left input to D25 (DAC1); PAM8403 G to GND and 5V to VIN.
- Speaker connects to the PAM8403 left output terminals.
- Logitech C270 connects to the PC by USB.
